 By Stephanie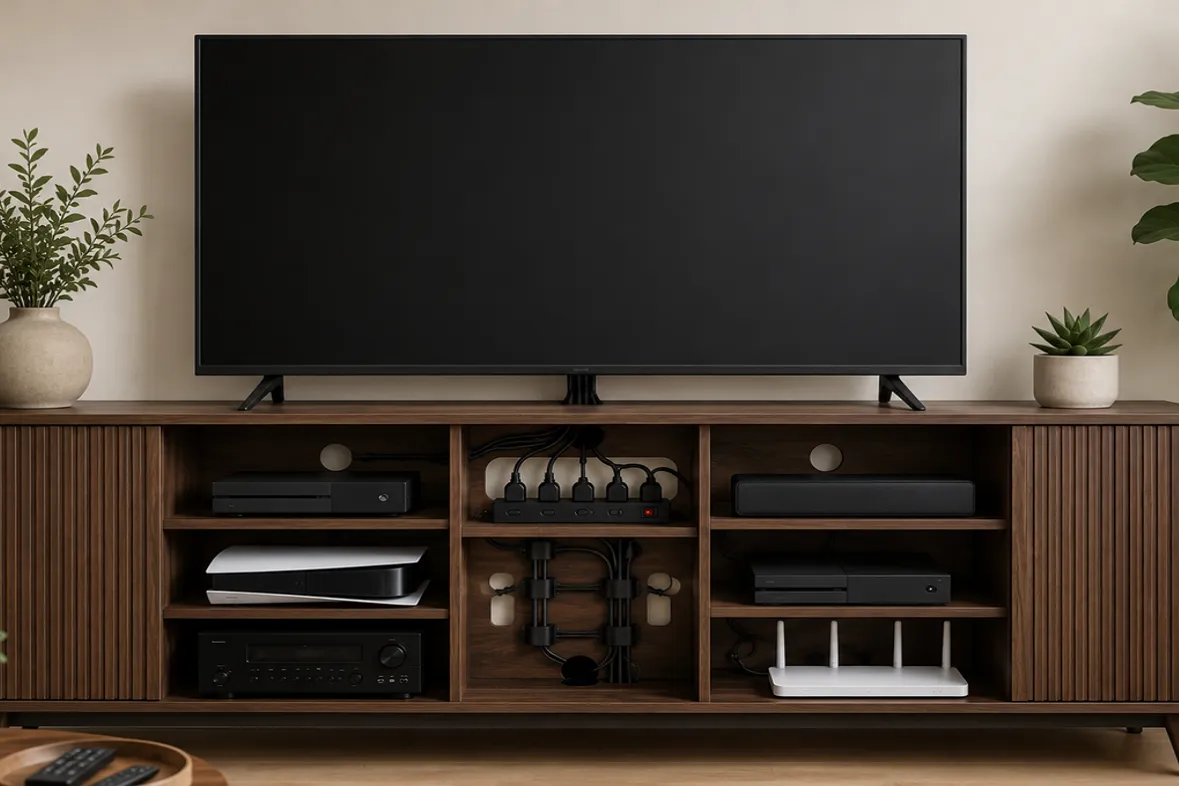
Your living room can look finished—until cords around the TV take over. Effective entertainment center cable management does more than hide TV cables. It gives power, HDMI, audio, and network lines a clear path, keeps equipment accessible, and makes upgrades easier. Loose cords also get in the way of everyday tasks, from vacuuming behind the console to restarting the router before movie night. This guide shows you how to plan, route, and manage cables with a media console built for real life.
Table of Contents
Before You Start: Map Your Entertainment Center
Before you move a single cord, make sure your entertainment center can support the setup you actually use. This short planning step prevents a common frustration: finishing a neat cable cleanup, then realizing a receiver has no breathing room, a cabinet door will not close, or a frequently used port is impossible to reach.
Identify What Belongs in Your Setup
Start by deciding which devices truly need to live in or around the media console. Most setups include a TV, soundbar, streaming device, game console, router, or AV receiver. Write down the items you use every week, then separate out anything outdated, unplugged, or stored “just in case.”
Treat the TV, power strip, active devices, network gear, and future service access as separate zones rather than one catch-all storage area. This makes it easier to decide what stays visible, what goes behind a door, and what needs to remain within reach when something needs a quick reset.
This is also the moment to decide which devices need quick access. A game console may need an easy-to-reach front panel, while a streaming box can sit farther back. A router may need a more open location to maintain a reliable signal. The goal is to give each active device a clear home before you begin organizing the cords around it.
Check Depth, Airflow, and Rear Access
Measure your deepest component with its plugs connected, not just the device itself. HDMI connectors, power cords, and speaker cables all need room behind the equipment. Check that cabinet doors can close without pressing against wires and that vents will remain open during long movie nights or gaming sessions.
A media console should also leave enough rear access to reach ports, reset a device, or swap equipment later. When the cabinet fits the technology properly, cable management becomes much easier to maintain.
Hide TV Cables in the Right Order
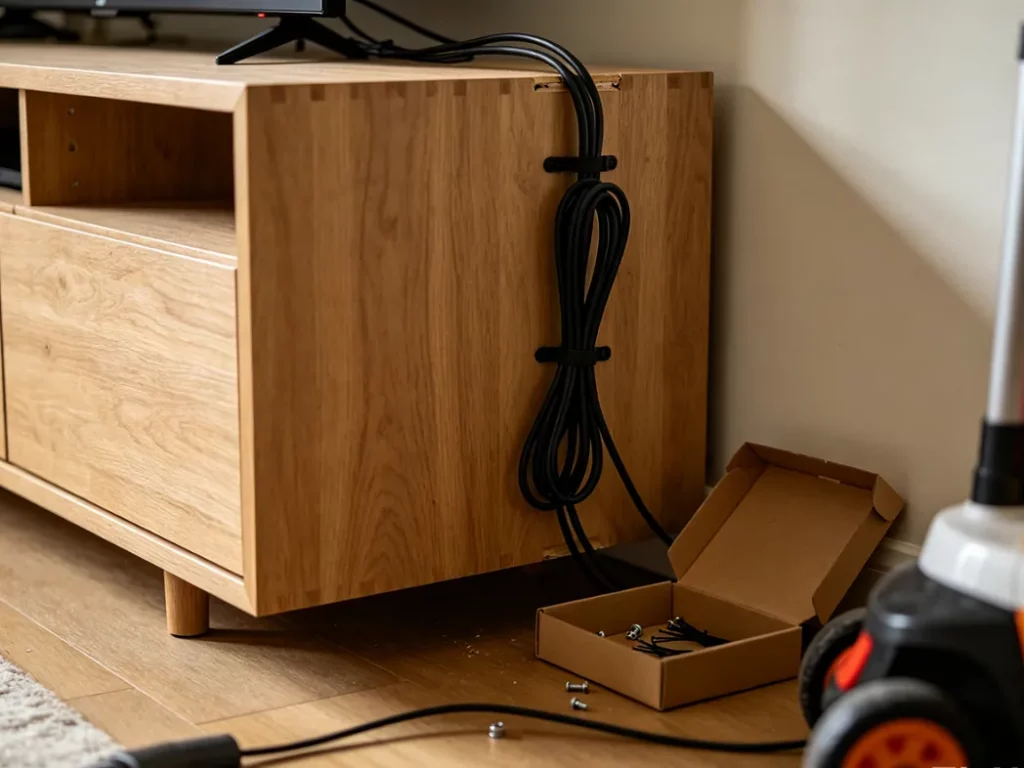
Once the blueprint is clear, complete the physical setup in a fixed sequence. Starting with the TV often creates a tangle because power bricks, receivers, and console cords are still loose at the base. Begin at the outlet, move through the cabinet, and finish at the screen. Every connection stays visible when you test it.
Step 1: Create a Safe, Reachable Power Zone
Place a rated surge protector where it remains accessible from the rear or through a cabinet opening. Keep bulky adapters off the floor and away from vents.
Keep plugs fully inserted, avoid overloading power strips or extension cords, and never run active cords under rugs or coverings. The U.S. Consumer Product Safety Commission advises against covering cords in use because heat cannot escape, and it recommends replacing worn cords rather than hiding them.
Step 2: Route Device Cables Through the Cabinet
Place each device in its final bay before attaching cables. Feed power through the nearest lower opening first. Then run HDMI, audio, and Ethernet along the back edge of that same bay. Do not let one device’s cords drift across the path of another.
Use hook-and-loop ties only for lines traveling to the same destination. A gaming console’s power, HDMI, and Ethernet may travel as one loose group; the soundbar’s cables should stay separate. Fold extra length into a flat loop and secure it with a reusable tie rather than wrapping it tightly around a power brick.
If a plug is pressed sharply against the back panel, a cable has to bend too tightly, or a cabinet door will not close naturally, stop and adjust the layout. Move the device to another bay, shorten the cable path, or leave more clearance behind the equipment. A clean setup should never rely on forcing cords into a space that does not fit them.
Before movie night, a couple moved streaming boxes and soundbar cables into separate rear routes. When Wi-Fi needed a restart halfway through the film, the router’s labeled plug was reachable in seconds.
Step 3: Clip, Label, and Test Before Closing the Cabinet
Use adhesive clips to keep each group close to the inside back panel. Label both ends of key cables—“TV HDMI 2,” “Soundbar,” or “Console”—before pushing the unit toward the wall. Test picture, audio, Wi-Fi, remote response, and game-console connection one device at a time.
Check the setup from the front, each side, and behind the furniture. A hidden cord can still catch a vacuum, show from the doorway, or block a vent.
Choose a Media Console That Supports the Plan
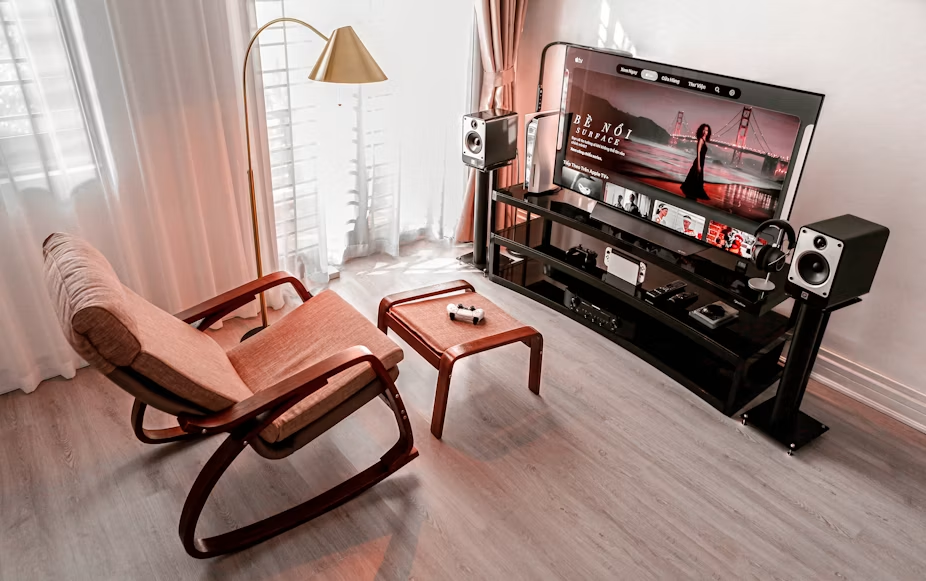
A media console will not organize cables on its own, but the right construction makes a clean setup much easier to live with. Rear access, usable interior depth, ventilation, and flexible storage affect whether devices fit comfortably, cords stay protected, and everyday tasks—such as restarting a router or replacing an HDMI cable—remain simple.
The Features That Matter Most
Look beyond the console’s exterior size and finish. The most useful features give devices enough room to operate while keeping cables contained and easy to reach.
| Media Console Feature | Why It Matters | Best For |
| Internal and rear cable holes | Keeps power and signal cables from building up in one spot | TVs, soundbars, streaming boxes, and consoles |
| Open-back or rear-access design | Makes setup, cleaning, and cable changes easier | Setups that change over time |
| Ventilated shelves or doors | Helps active equipment release heat | Game consoles, receivers, and media players |
| Adjustable or removable shelves | Creates usable space for components of different sizes | AV receivers and home theater gear |
| Adequate interior depth | Leaves room for plugs, cable bends, and airflow | Multi-device and receiver-based setups |
A TV-and-soundbar setup usually benefits most from simple cable access and everyday storage. A receiver-based system needs a console that can hold larger components while adapting to future changes.
Storage That Simplifies Everyday Cable Management
For a TV, soundbar, streaming box, and game console, the Arboren 17″ Deep Vented Rolling Media Console helps keep daily technology contained without making it difficult to use. Its six internal cable holes, three rear cable holes, and open-back design give each compartment a direct route for power, HDMI, and network cables, so cords do not collect behind the TV.
Configurable Storage for a Receiver-Based Home Theater
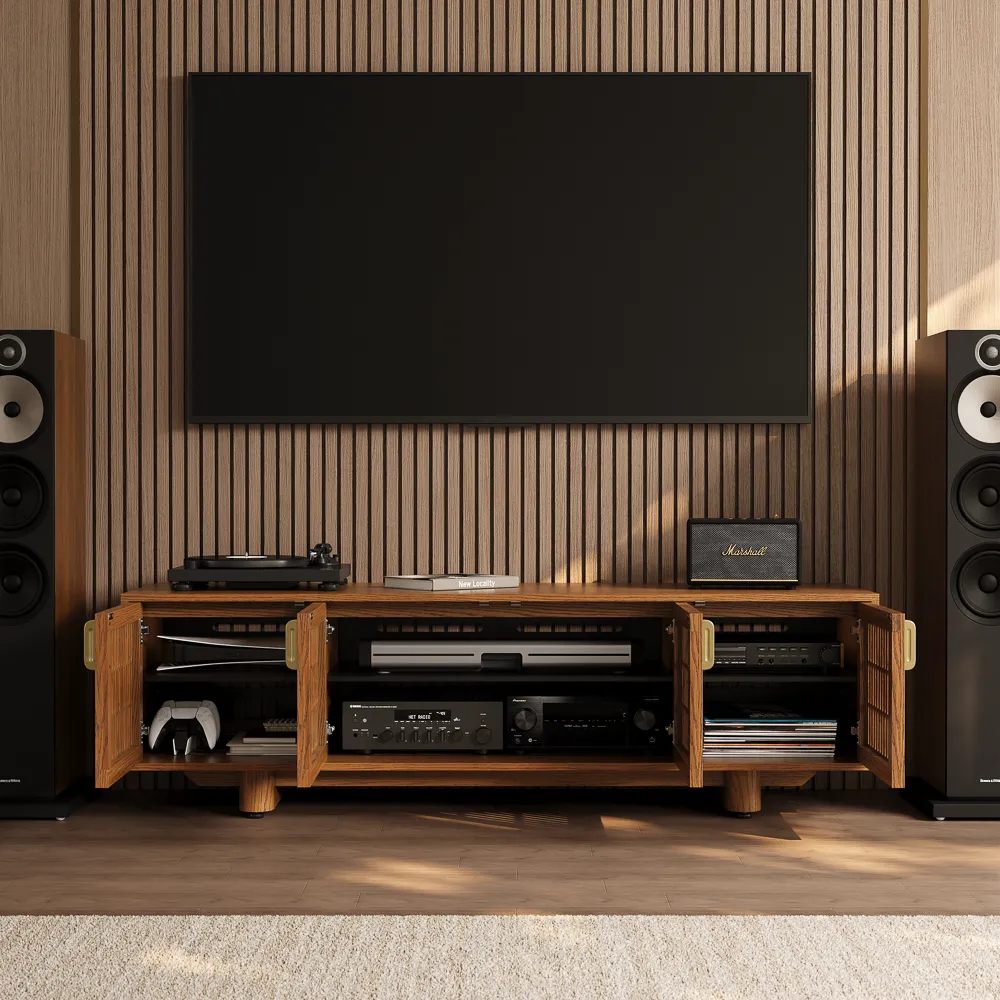
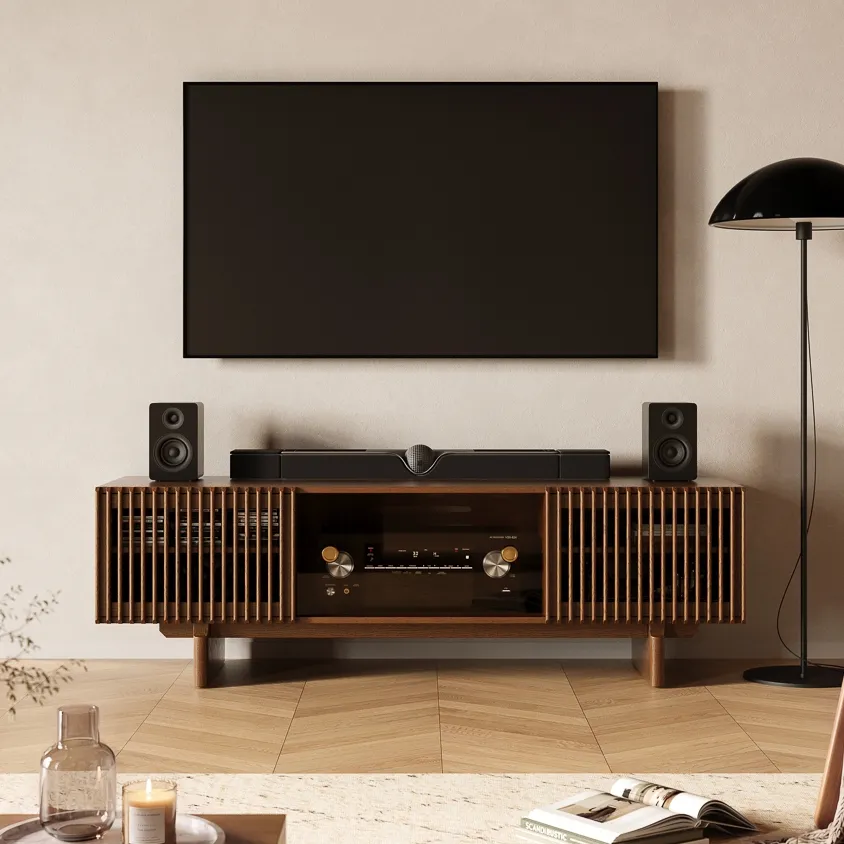
A larger AV receiver changes the storage equation. It needs room for heat, rear connections, and nearby source devices without forcing everything into one fixed layout. The Arboren 71″ Mid-Century Modern TV Stand is better suited to this type of setup, with a deeper equipment area, removable shelves, rear ventilation, and remote-friendly doors. Its flexible interior lets you create more space for an AVR now, then reconfigure the cabinet later for consoles, media players, or other home theater components.
Keep Your Entertainment Center Organized as Your Setup Changes
A cable setup should make daily life easier long after the first cleanup. When you add a game console, replace a router, or switch to a new soundbar, you should be able to update one part of the system without pulling apart the entire entertainment center.
Take a few minutes each season to open the back of the console, remove unused cords, clear dust from vents, and check that labels and reusable ties are still in place. Make sure power adapters have not shifted against equipment or blocked airflow.
Pay attention to recurring problems, too. If cabinet doors do not close, ports are difficult to reach, equipment runs hot, or cords keep showing from the sides, the issue may not be your cable organization. It may be that the console lacks enough interior depth, rear cable openings, ventilation, or accessible back-panel space. A media console that fits your equipment properly makes cord management easier to maintain—and keeps the room looking settled as your setup evolves.
Conclusion
Learning how to hide cables in your entertainment center is less about buying more organizers and more about making better decisions before you plug anything in. Build clear zones, map each device, start with a safe power area, and route every cable through the media console instead of around it. When the furniture offers real depth, ventilation, rear access, and dedicated cable holes, the room stays easier to clean, safer to use, and calmer to look at. That is cable management designed for everyday living, not just a quick visual fix.
FAQs
Can I Place a Router Inside a Media Console?
Yes, if the compartment has airflow and the signal remains reliable with the doors closed. Keep the router away from tightly packed power adapters and test Wi-Fi in the rooms where you use it most. An open-back or lightly screened section is often more reliable than a fully enclosed cabinet.
How Much Extra Space Should I Leave Behind an AV Receiver?
Leave enough room for attached plugs, normal cable bends, and the manufacturer’s ventilation requirements. Measure the receiver with every connector installed, not just its listed body depth. If the rear panel presses against cords or blocks airflow, the cabinet is not deep enough for that receiver.
Should I Hide a Surge Protector Inside a Closed Cabinet?
You can, but it should remain reachable and should not be crowded by adapters or fabric. Choose a location with rear access, keep vents clear, and do not overload it. The goal is controlled concealment, not a sealed box that is hard to inspect.
What Is the Best Way to Hide Cables in a Rental?
Use removable cable clips, reusable hook-and-loop ties, and a paintable surface raceway for the wall section. Then route the remaining cords through the console’s rear openings. This keeps the installation reversible while still making the TV wall look intentional.


[…] connect the power and signal cables and repeat the dust-cover test. A good record player stand with cable management should preserve that operating clearance rather than forcing the deck […]