 By Stephanie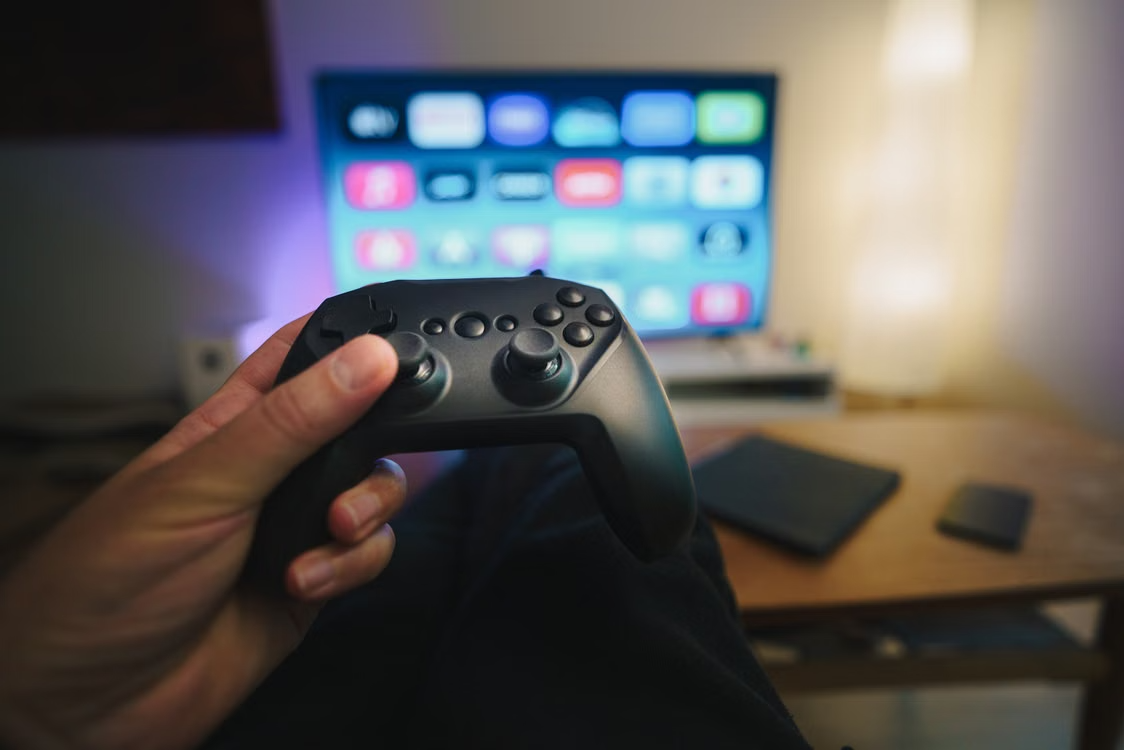
PS5, Xbox, and Switch gear can take over a living room fast: one console on the floor, controllers on the coffee table, game cases in a drawer, and cables beneath the TV. A thoughtful gaming console entertainment center can work as a video game storage cabinet and a console cooling TV stand, giving high-heat devices room to breathe instead of trapping warm air behind closed doors. This setup plan shows you how to measure, choose, arrange, and maintain one cabinet that makes playing easier every day.
Table of Contents
Plan a One-Cabinet Gaming Setup
Once you know the cabinet can safely support active consoles, plan the inside around how your household actually plays. A clear layout keeps heat-producing devices separate from daily accessories and makes it easier to keep the room tidy after game night.
Decide What Should Stay Outside the Cabinet
Not every device belongs inside a media console. A soundbar usually performs best directly below the TV unless the manufacturer approves cabinet placement and the compartment is acoustically open. A frequently used Switch dock may also be easier to reach on an open shelf.
Keep these items outside the cabinet when possible:
- A soundbar that needs an unobstructed front-facing path
- A wall-mounted TV’s visible center speaker
- A router that loses signal strength inside dense cabinetry
- A console that cannot meet its ventilation requirements in the available compartment
The goal is not to hide every piece of technology. The goal is to create a living room where the equipment works well, looks intentional, and does not take over every surface.
Map the Cabinet in Three Zones
A cabinet works best when it is organized by function, not by which item happens to fit first. Divide it into three zones so hot electronics, everyday accessories, and backup gear do not compete for the same shelf.
- Heat zone: Reserve a ventilated shelf for active devices such as a PS5, Xbox Series X|S, AV receiver, router, or streaming box. Keep game cases, baskets, and loose chargers out of this area.
- Daily-use zone: Use a shallow drawer or easy-to-reach cabinet for controllers, remotes, headsets, charging leads, and spare batteries.
- Backstock zone: Store completed games, older consoles, VR accessories, travel cases, and duplicate cables behind closed doors or on a higher shelf.
This arrangement reduces the clutter that builds up during a normal week. On a Friday night, two players should be able to open one drawer, grab charged controllers, and start a co-op game without first clearing the coffee table.
How to Choose a Heat-Safe Gaming Cabinet for PS5, Xbox, and Switch
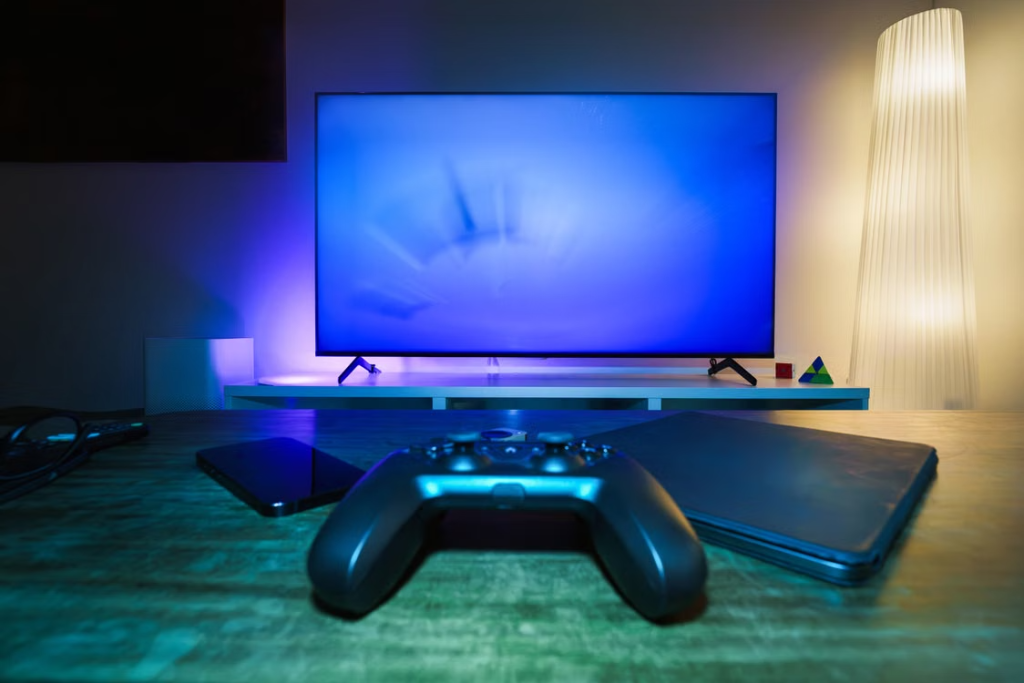
A gaming cabinet should do more than hide a console. When comparing options, look for enough interior depth, ventilation that lets heat escape, and rear access that keeps plugs from pressing against device ports. Those details determine whether a cabinet will support daily gaming or simply contain it.
Give High-Heat Consoles Functional Clearance
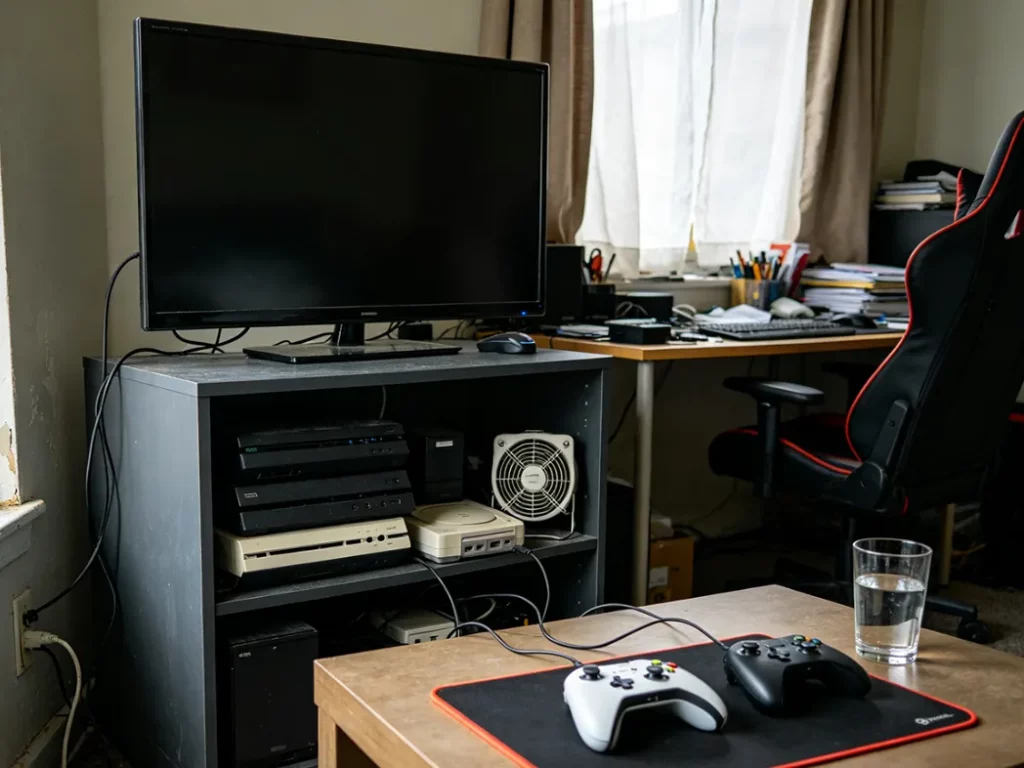
A PS5, Xbox, or AV receiver needs a dedicated, uncluttered shelf. Do not stack hot devices, press an exhaust vent against the cabinet wall, or fill the remaining space with games and chargers. A slatted door or open back can help, but a rear opening alone does not make a tight compartment safe. The console still needs clear space around its intake and exhaust vents, plus a path for warm air to leave the cabinet.
For PS5 consoles, leave at least 10 cm of clear space around the unit and avoid narrow compartments. Xbox recommends 4–6 inches of clearance on all sides of Series X|S consoles. Follow the guidance for your exact model and use the larger requirement when devices share the same TV wall.
After a long summer game session, a louder-than-usual fan, trapped heat inside the cabinet, or a heat warning are signs to check the layout first. Clear the vents, remove nearby clutter, and improve airflow before relying on an extra cooling fan.
Measure the Equipment, Not Just the TV
A TV’s diagonal size does not tell you whether a console will fit behind cabinet doors. Measure the TV’s actual width, the distance between its feet, and the clear space below a wall-mounted screen. Then measure every device with its HDMI, power, Ethernet, and speaker cables connected.
Write down these numbers before shopping:
- Console width, height, and depth
- Plug direction and cable-bend space
- Soundbar and AV receiver depth
- Power-strip size and outlet location
- Clearance required around device vents
- Room for a future console, charging dock, or soundbar upgrade
A TV stand size guide for measuring width, depth, and clearance is helpful here because a stand must support the room as well as the screen. Use painter’s tape to outline the cabinet footprint on the floor. You will immediately see whether it blocks a walkway, crowds the coffee table, or leaves enough space to open cabinet doors comfortably.
Compare Cabinet Designs Before You Commit
The best cabinet depends on the equipment you own today and the setup you may add later.
| Your Setup | Cabinet Structure That Fits | What to Check Before Buying |
| One PS5 or Xbox with a wall-mounted TV | Open or vented device shelf | Console clearance, rear cable access, outlet location |
| PS5 + Switch + multiple controllers | Vented cabinet with drawers | Separate heat zone and daily-use storage |
| Receiver + console + soundbar | Deep home theater media console | Interior depth, shelf load, cable openings, IR pass-through |
| Family setup with several controllers | Closed storage plus vented equipment bays | Charging space, removable shelves, easy cleaning access |
| Small apartment gaming setup | Narrow console with accessible rear | Cabinet depth, walking clearance, visible-cable control |
An IR-friendly media cabinet is especially useful when the TV wall includes a receiver, streaming device, and game console. It allows the front of the room to stay quiet and furniture-like while remote commands still reach compatible equipment through the cabinet door.
Use This Cabinet Checklist Before Ordering
Before placing an order, check the cabinet’s internal dimensions—not only its exterior size. A console may fit inside a listed depth while still leaving no room for its power cord or HDMI cable to bend naturally.
Use this checklist:
- Does the interior depth fit the console with cables connected?
- Does each active device have a dedicated vented bay?
- Are cable holes located behind the shelves where devices will sit?
- Can the remote work with the doors closed?
- Can you access the power strip without removing a console?
- Can shelves be adjusted if you add a receiver or larger console later?
- Can you clean behind the cabinet without dismantling the full setup?
That checklist matters most for a setup that runs for hours at a time. For a PS5, Xbox, or AV receiver sharing one TV wall, the Arboren Deep Vented Rolling Media Console combines all-around slotted ventilation and slatted doors to give warm air a clearer way out while IR remote signals still pass through. Its metal shelves and 17.7-inch interior depth also support larger components without pressing their rear ports or cables against the back.
Build a Cable System You Can Maintain
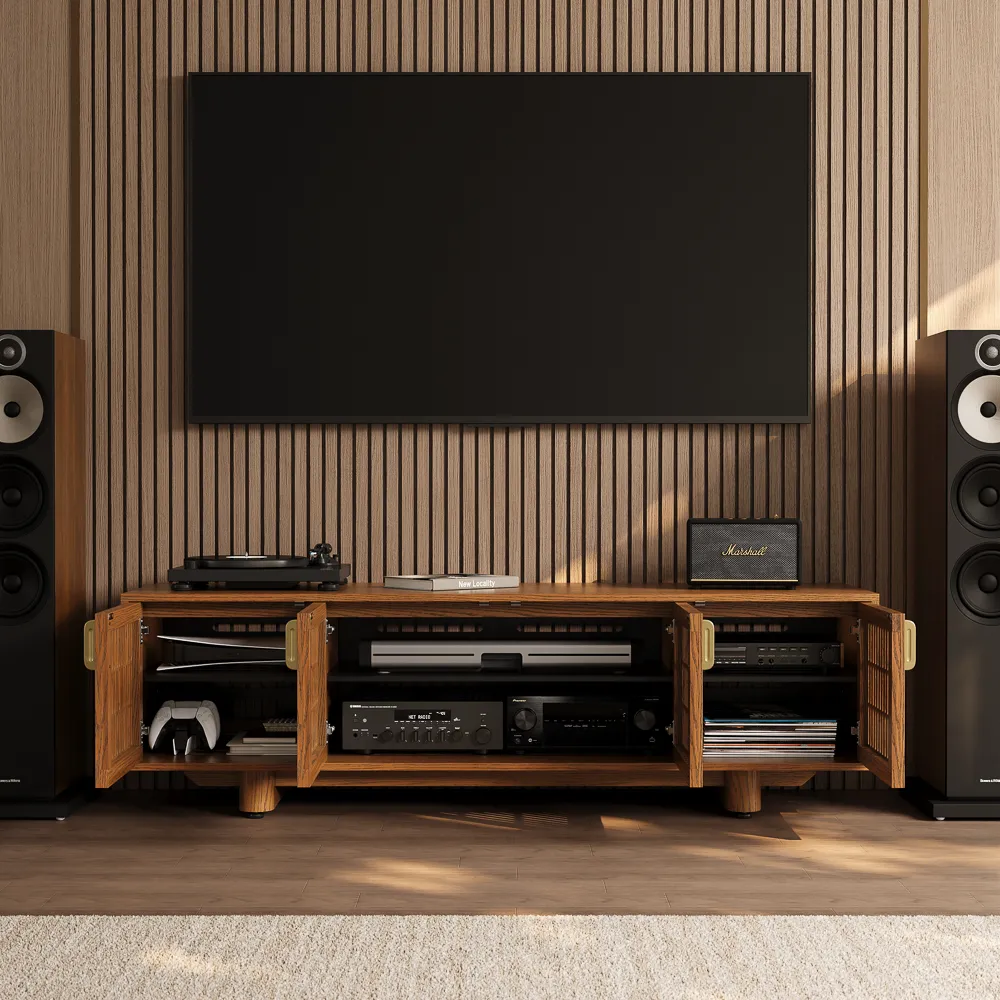
A tidy front view is only half the job. The system behind the cabinet must let you trace a failed connection, replace a console, remove dust around vents, and move the furniture when needed. The most reliable cable setup is not one tightly wrapped bundle. It is a repeatable route that stays understandable months later.
Route Cables in a Fixed Order
Start with an empty cabinet rather than trying to fix one cord at a time. Turn off the equipment, take a quick photo of the existing connections, and rebuild the layout in a consistent order.
- Place the power strip first. Keep it reachable without moving a console. Position it away from airflow paths and off the visible floor.
- Set devices near their exit points. Aim rear ports toward the nearest cable opening or accessible back section.
- Connect power before signal cables. Run power cords first, then HDMI, Ethernet, optical, and speaker cables.
- Group cables by device. Keep each console’s cables together rather than wrapping every cord into one oversized bundle.
- Use reusable hook-and-loop ties. They are easier to reopen when you replace a cable or move to a different HDMI input.
- Label both ends. “PS5 HDMI 1,” “Xbox power,” and “soundbar ARC” remove guesswork later.
- Test the full setup before closing doors. Confirm TV inputs, Wi-Fi, charging, sound, and remote control all work as expected.
Good media console cable management gives every cable a clear route and keeps future changes simple. TV stand cable management features that keep cords off the floor are most useful when they create accessible routes rather than hiding wires where you cannot reach them.
Leave Service Access for Changes and Cleaning
Do not pull every cable completely tight. Leave a small service loop behind each device so you can slide it forward, inspect the ports, or clean around it without disconnecting the whole setup. Never use cable ties so tight that a console cannot be moved for maintenance.
A removable back panel TV stand or accessible open-back design makes this much easier. Once a month, turn off the equipment, remove visible dust around air vents, check that no cable has shifted into the airflow space, and make sure power cords are not pressed against cabinet doors. That simple inspection prevents the setup from becoming a mystery box over time.

Store Controllers, Games, and Everyday Gear Without Visual Clutter
Small accessories create most of the visible mess because they move constantly. A controller ends up on the coffee table, a charging cable lands beside the sofa, and game cases slowly spread across the TV stand. The solution is not another large basket. It is a storage routine that gives each item a short, obvious path home.
Make a Daily-Use Dock
Create one return point for the items used in nearly every session. A shallow drawer near the center of the cabinet works well for controllers, remotes, rechargeable batteries, compact headsets, and charging leads. Keep the inside simple enough that everyone in the home can follow the same routine.
A practical controller drawer includes:
- One marked space for each controller
- A small divider for batteries and charging cables
- A soft pouch for a headset or earbuds
- One dedicated position for TV and soundbar remotes
A family room feels different when this system is in place. After a Sunday afternoon racing game, the controllers go into their marked slots instead of staying on the rug until the next person needs the room.
Separate Current Games From Long-Term Storage
Keep the games you are currently playing upright in a narrow, easy-to-scan section. Store completed games, collector editions, extra Joy-Cons, and older accessories behind closed doors where they are protected from dust and visual clutter.
This division also keeps people from opening the high-heat equipment bay just to find a Switch game. For a cleaner wall line, how to hide cables behind a TV stand works best when controllers and accessory chargers already have storage away from the device shelf.
A ten-minute weekly reset keeps the cabinet from slipping back into chaos. Return loose controllers, wipe visible dust from vents with a dry microfiber cloth, clear anything blocking the slatted doors, and confirm that cabinet doors still close without pressing against plugs.
Conclusion
An organized gaming cabinet should make the room calmer, not make a console harder to use. Start with the measurements and airflow requirements your own hardware needs, then give hot devices, daily accessories, and backup gear separate homes. A media console with real ventilation, accessible cable routing, and flexible storage protects the setup from the slow return of clutter. Once the TV wall works this way, game nights no longer begin with finding a controller, moving a charger, or opening a cabinet door just to let a console breathe comfortably.
FAQs
Do I Need an Extra Cooling Fan Inside a Gaming Media Console?
Usually, better cabinet placement should come first. Make sure the console has the manufacturer-recommended clearance, its vents are unobstructed, and warm air can leave the compartment. An added fan may help in some setups, but it should not be used to compensate for a cabinet that is too small or poorly ventilated.
Should I Leave Cabinet Doors Open While Gaming?
If the console cannot maintain clear ventilation with the doors closed, the cabinet is not the right fit for that device. Opening the doors may reduce trapped heat temporarily, but the better long-term solution is a cabinet with adequate ventilation, interior depth, and clearance around the console.
Is a Surge Protector Safe Inside a TV Stand?
A properly rated surge protector can be used inside a cabinet when it remains easy to inspect, stays clear of fabric and paper, and is not overloaded. Keep it away from heat-producing equipment and plug it directly into a wall outlet. Do not connect one power strip to another.
Why Do My Wireless Controllers Disconnect Near a Media Console?
Wireless controllers can lose range when the console is enclosed by dense materials, surrounded by multiple electronics, or placed far from the seating area. Keep the console’s front signal path as open as possible, avoid packing the cabinet with metal accessories, and test controller response from the sofa before finalizing the layout.


[…] cable routes all reduce usable interior space. Once the cabinet passes this operating-space check, organizing consoles and gear in one cabinet becomes a separate layout task: keep warm electronics away from controllers, cases, chargers, and […]