 By Kelvin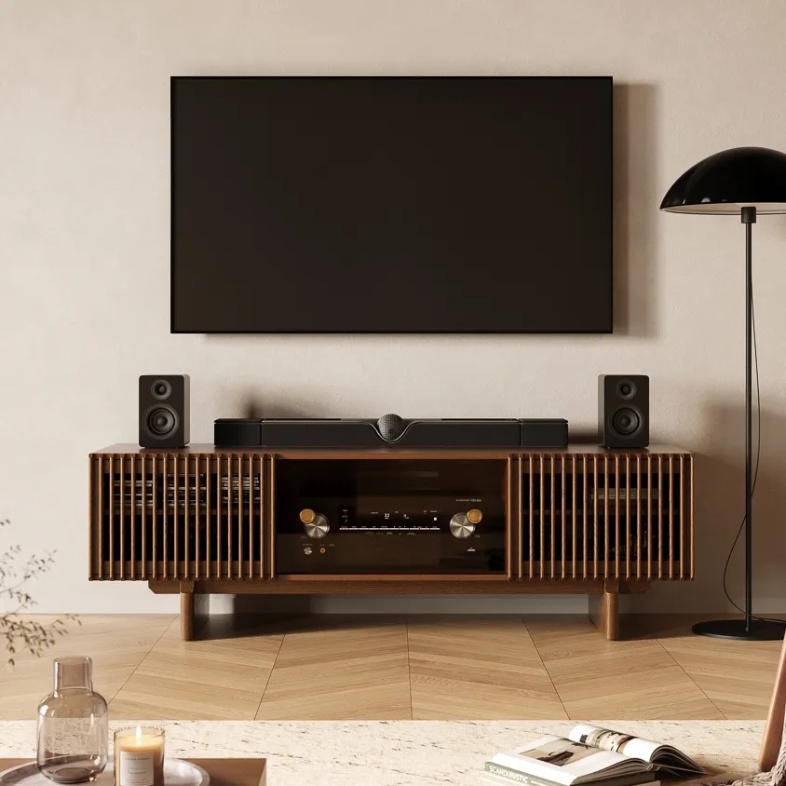
Introduction
A media cabinet works only when its shelves fit the gear you actually use—not when every compartment looks evenly divided in a product photo. An adjustable shelf media console lets you create room for a tall AV receiver, a vertical game console, or a low streaming box without leaving half the cabinet unusable. The key is to plan around device height, cable depth, airflow, and access before you lock the shelves into place. Use this approach to organize today’s gear while keeping one bay flexible for the next device you bring home.
Table of Contents
What Do Adjustable Shelves Solve in a Media Console?
Adjustable shelves solve a layout problem, not just a storage problem. A receiver, PS5, router, and streaming box do not need the same amount of vertical space, and giving them identical cubbies usually wastes room in one place while cramming equipment in another. With an adjustable shelf media console, you can make one taller bay for the device that needs it and keep smaller gear grouped in a lower, easier-to-reach zone.
That flexibility matters when a setup changes. A household may start with a streaming box, then add a console, soundbar, or receiver. Treat the cabinet as a layout that can be reset. Searches for TV stand adjustable shelves are often really searches for that future-proofing.
Adjustable Shelves vs. Removable Shelves
An adjustable shelf lets you redistribute height between two or more bays. It is useful when you need a taller opening for a console but still want a smaller shelf for a modem, game cases, or controllers. A removable shelf creates one uninterrupted bay. That is the better move when a receiver, turntable with a raised lid, or record bin needs more height than a repositioned shelf can provide.
Choose based on the equipment, not symmetry. One tall equipment zone and one low accessory zone can be the most useful layout.
How Do You Measure Media Cabinet Shelf Spacing for Your Devices?
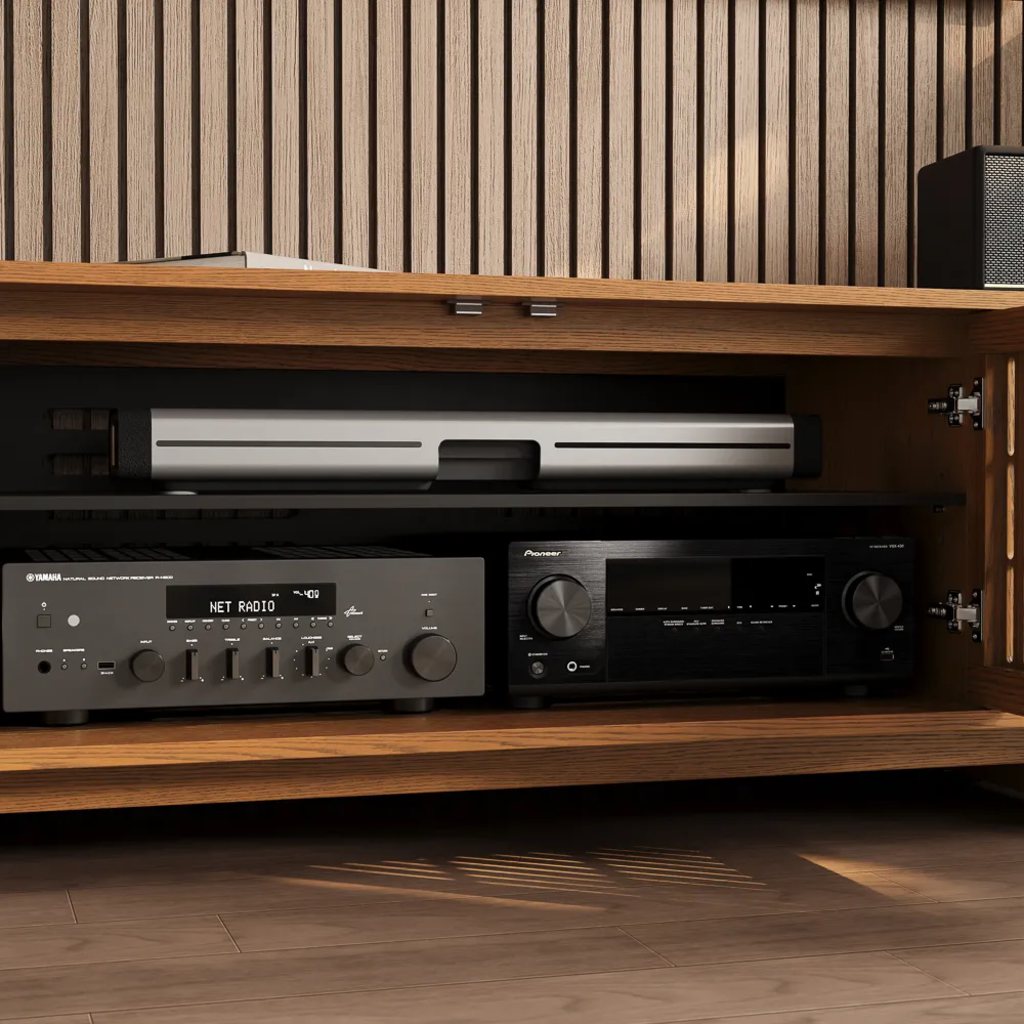
Media cabinet shelf spacing should be planned from the actual equipment outward. Measure the box you need to place, then account for what its power cord, HDMI cable, antenna, or network cable adds behind it. Finally, check the manufacturer’s guidance for the open space around any device that runs warm. A shelf that fits the hardware body but presses its plug into the rear panel is not a workable fit.
Measure the Device, Not Just the Empty Shelf
Before moving a shelf, make a short equipment list. Include overlooked pieces such as a mesh Wi-Fi node, HDMI switch, charging dock, or external drive. Record each item’s width, height, and depth after its main cables are connected. Then note whether it vents from the top, sides, or rear.
Use three checks:
- Bay height: Device height plus the open space required by its manual.
- Bay depth: Device depth plus room for plugs and a relaxed cable bend.
- Bay width: Device width plus side room so vents, buttons, and ports stay usable.
Do not borrow a universal shelf-height number from a bookcase guide. Electronics vary too much. A low streaming box may need only a shallow shelf, while a receiver may need the cabinet’s tallest, best-ventilated bay.
Use This Device-to-Bay Planner
| Device | Measure Before You Move a Shelf | First Shelf Choice | Do Not Do This |
| AV receiver or amplifier | Height, depth with rear plugs, manual clearance | Tallest bay with a clear air path | Push it tight to the back panel |
| PS5 or Xbox | Approved orientation, vent locations, cable depth | Its own bay with room around intake and exhaust | Stack another warm device on it |
| Streaming box or HDMI switch | Cable access and remote visibility | Low, reachable shelf | Bury it behind a receiver |
| Router or mesh node | Cable route, heat, signal path | Accessible bay with some open space | Seal it inside a packed corner |
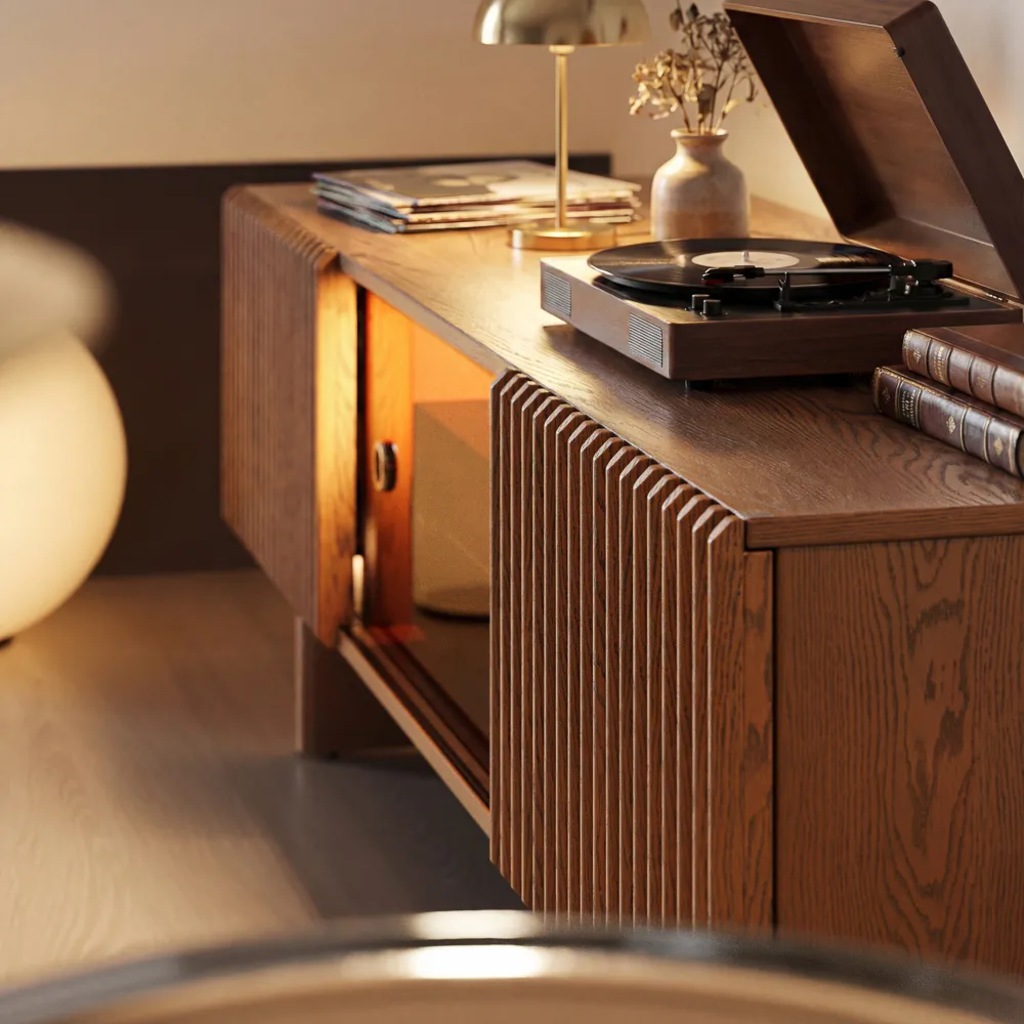
| Turntable or vinyl records | Lid clearance, record-bin height, weight | Tall bay after removing a shelf | Assume a standard cubby is tall enough |
When you need a broader inventory of devices, accessories, and hidden storage, start by defining how much storage space you need in a TV stand before trying to fill every shelf.
How Should You Arrange Devices Inside the Cabinet?
Once you know the required bay sizes, organize by heat, depth, and access—not by which device looks best behind a door. Let the most demanding component determine the first shelf position. Then place smaller gear in the remaining zones without blocking ventilation or access. This prevents pulling out half the cabinet just to reach one HDMI port.
Start With the Tallest, Deepest, and Hottest Device
Put the receiver or amplifier in the tallest bay that offers the strongest air path. Next, give each console its own position, following the manufacturer’s approved orientation and keeping its intake and exhaust clear. Place compact streaming gear where its remote can reach it and its cables can still be changed. Controllers, game cases, and spare remotes belong in a drawer or a low-access section rather than beside a device that produces heat.
A family room with a receiver, PS5, and streaming box does not need three identical shelves. It needs one protected equipment bay, one reachable console bay, and one low zone for accessories. The same principles behind TV stand ventilation for gaming consoles apply even when the cabinet doors are closed.
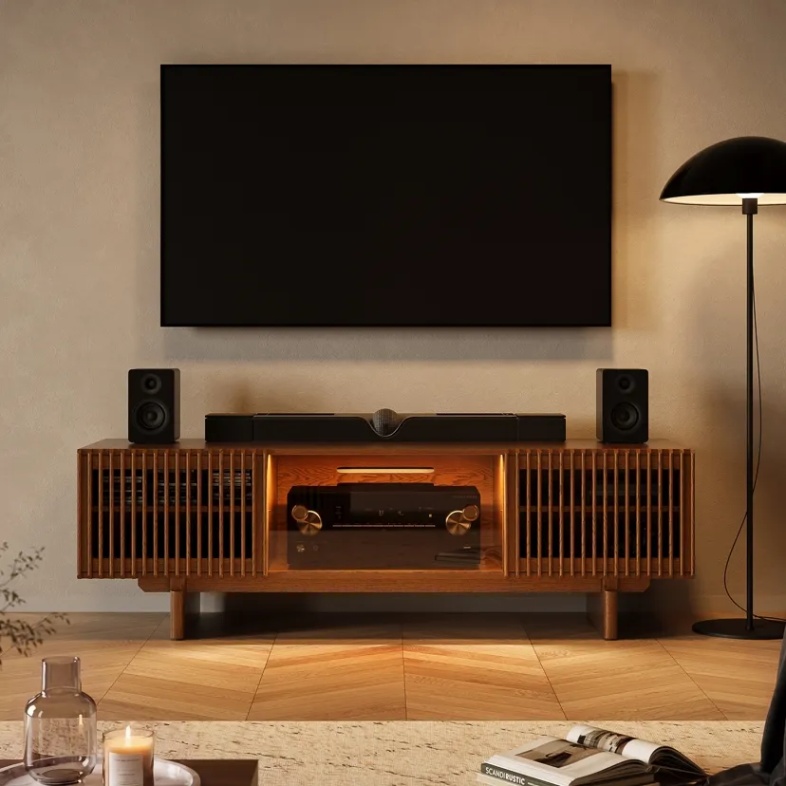
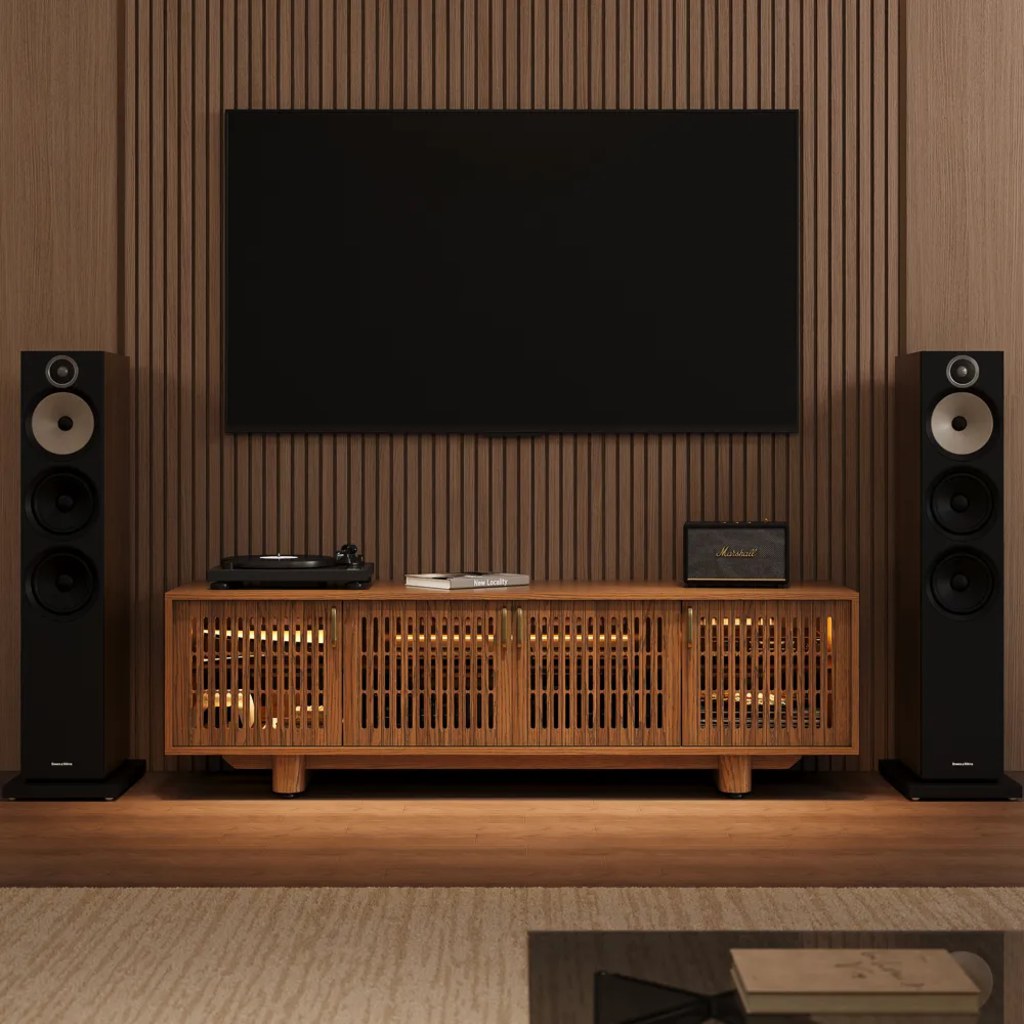
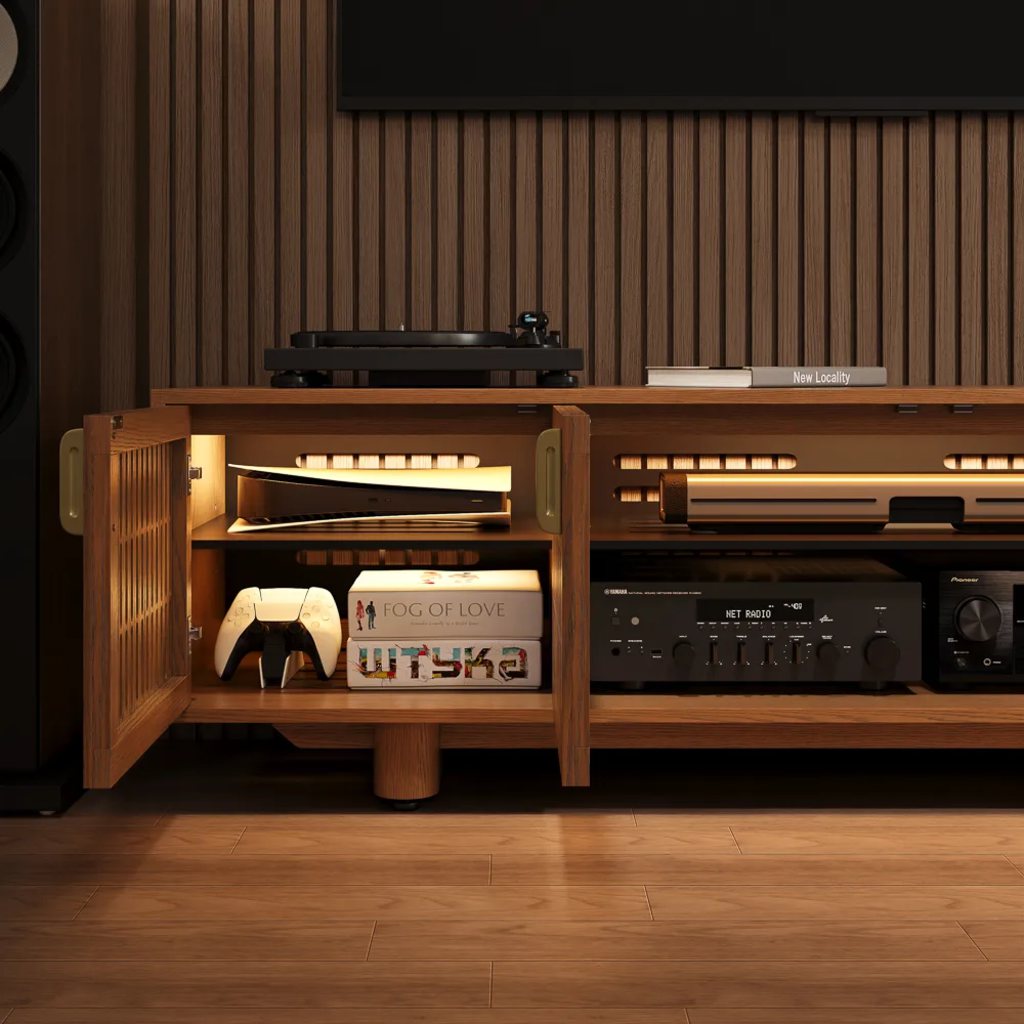
For a family room that mixes a receiver, console, speakers, and smaller streaming gear, the Arboren-71” Mid-Century Modern TV Stand makes the shelf layout easier to reset. Its two removable side-cabinet shelves let you turn a stack of low accessory compartments into a taller zone for bookshelf speakers, a vertical console, or a turntable, while the remaining bays stay available for lower equipment. Slatted doors, rear vents, and built-in cable holes help that new layout stay usable after the larger gear goes in.
When Should You Remove a Shelf for Taller Equipment?
Remove a shelf when shifting it still leaves the key device cramped. This often happens with a tall receiver, a turntable that needs lid clearance, a vertical console, or a record bin. The goal is not the largest opening; it is one bay that works without compromising the rest of the cabinet.
A removable shelf is also useful when the next upgrade is uncertain. Leave one cabinet bay easy to reconfigure rather than filling every inch with baskets or display pieces.
Do not remove a shelf just to store equipment in a loose pile. Check the product’s shelf and cabinet weight limits, keep heavier components on a stable lower position when possible, and make sure devices cannot slide when a door is opened or the cabinet is moved.
Check Cables, Airflow, and Access Before Finalizing the Layout
An adjustable shelf media console can fit every device and still create a frustrating setup if cables, ventilation, or service access were ignored. Before declaring the layout finished, connect the real power and signal cables, close the doors, and check that the devices can still receive remote commands. You should also be able to reach a power button or HDMI port without unloading the whole cabinet.
Leave room for cable bends, avoid tightly bundling cables against a warm device, and keep one route open for a future HDMI or network cable. Planning TV stand cable management for hidden cables at the shelf-layout stage is much easier than correcting a tangled cabinet later.
When several AV components share one console, the Arboren 17″ Deep Vented Rolling Media Console gives you more than a fixed row of cubbies. Keep both removable shelves in place for separate levels of streaming gear, a console, and accessories, or remove one or both to create a taller bay for an oversized receiver or a vertical PS5. Its 17.7-inch interior depth, ventilated metal shelves, slatted doors, and hidden wheels also address the next challenge after fit: keeping equipment cooler and making cable changes less disruptive.
Plan a Shelf Layout Before You Buy
Before choosing an adjustable shelf media console, sketch a simple layout for the equipment you already own and the devices you may add later. This helps you see whether the cabinet is truly flexible, or whether it only looks organized when the shelves are empty.
Divide the cabinet into three practical zones:
- Tall equipment zone: Reserve this for a receiver, vertical game console, turntable, bookshelf speaker, or record storage. This is where a removable shelf matters most.
- Low device zone: Use this space for streaming boxes, an HDMI switch, a small router, controllers, or game cases that do not need much height.
- Future-change zone: Keep one area easy to reconfigure so a new console, audio component, or network device does not force you to replace the cabinet.
When comparing products, look beyond the number of shelves. Check which shelves can be removed, whether the larger bay still lines up with cable openings, and whether the remaining compartments still make sense for smaller devices. A media cabinet is more useful when its interior can change with your setup, not just when it fits your current equipment.
Conclusion
The right adjustable shelf media console does more than hide equipment. It lets you match each bay to the height, depth, heat, and cable needs of the devices you use most. Start with the largest and warmest component, build smaller zones around it, and keep one area flexible for future changes. When you measure after cables are attached and check the air path before closing the doors, the media cabinet becomes easier to live with—not just easier to look at.
FAQ
How Should I Label Cables After Changing Shelf Positions?
Label both ends of each HDMI, power, network, and speaker cable before moving equipment. Use simple tags such as “PS5,” “TV eARC,” or “Router,” and take one photo of the connected setup. Clear labels make later troubleshooting, replacement, and shelf changes faster because every cable has an obvious destination.
Can I Put a Subwoofer Inside a Media Cabinet?
Usually, a subwoofer should stay outside the cabinet unless its manufacturer specifically allows enclosed placement. A cabinet can block a driver or port, make doors or panels rattle, and change how bass moves through the room. Keep the subwoofer’s openings clear and relocate it if vibration becomes noticeable during movies or games.
Can I Use a Surge Protector Inside a Media Cabinet?
Yes, as long as the surge protector is rated for the connected equipment, remains easy to inspect, and is not covered by paper, fabric, or tightly packed items. Use one suitable unit rather than chaining multiple power strips together. Keep enough slack to disconnect equipment safely during cleaning or replacement.
What Should I Do With an Unused Adjustable Shelf?
Keep the unused shelf, pins, and mounting hardware together in a labeled bag instead of discarding them. A shelf that is unnecessary for your current receiver or console setup may become useful later for a streaming device, charging station, game storage, or a smaller replacement component. Store the hardware where it will not be confused with unrelated furniture parts.
How Often Should I Clean Dust From a Closed Media Cabinet?
Check vents, shelf surfaces, and cable areas every few weeks, especially in homes with pets. Turn off and unplug equipment as directed by its manufacturer, then use a soft microfiber cloth or a low-suction vacuum brush around vents. Do not spray cleaner directly onto electronics or cover openings while cleaning.


[…] equipment by height rather than forcing every component into equal compartments. A guide to organizing a media cabinet with adjustable shelves can help preserve cable access as the system […]
[…] how to organize a media cabinet with adjustable shelves becomes easier after obsolete cable equipment is removed. Build three simple […]
[…] several devices share the console, planning how to organize a media cabinet with adjustable shelves can preserve a dedicated console bay while leaving separate space for receivers, routers, streaming […]