Introduction
A scratched coffee table, a loose side table leg, or a lifted edge on a TV stand does not always mean the piece is beyond saving. The safest way to learn how to repair wood furniture is to identify what is actually damaged before reaching for sandpaper, glue, or a touch-up marker. A surface scuff, a deep gouge, a split joint, and swollen veneer may look similar from across the room, but they need different fixes. This guide focuses on common living room furniture, including coffee tables, side tables, console tables, and TV stands.
Table of Contents
What Kind of Damage Does Your Wood Furniture Have?
Start with the simplest question: is the problem in the finish, the wood itself, the structure, or the surface layer? This matters more than the furniture category. A scratch on a coffee table may only affect its clear coat, while a similar mark on a console table edge may expose wood fibers or a thin veneer layer.
| What You See | Common Living Room Example | What It Usually Means | Safe First Move |
| Fine mark that does not catch a fingernail | Coffee table top under a tray | Light finish scuff or residue | Clean, dry, and inspect in daylight |
| Scratch that catches a fingernail | Side table edge or TV stand front | Finish and wood fibers are damaged | Fill lightly, then color-match |
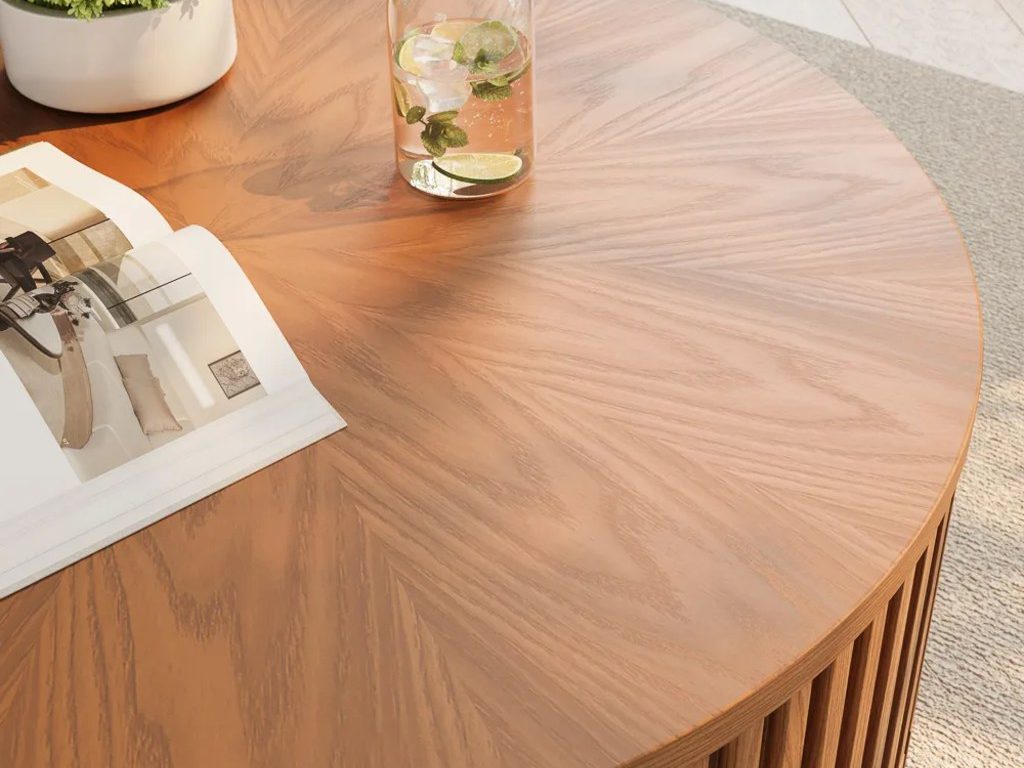
| White ring or cloudy patch | Coffee table under a drink | Moisture or heat affected the finish | Diagnose before adding more product |
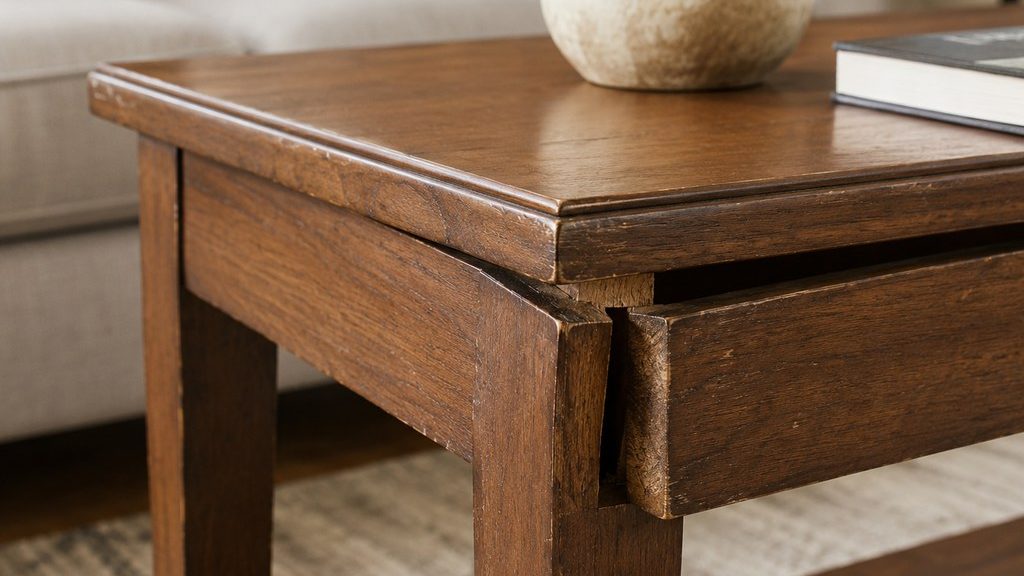
| Wobbly leg or frame | Side table or coffee table | Loose hardware, joint, or support | Check movement before cosmetic repair |
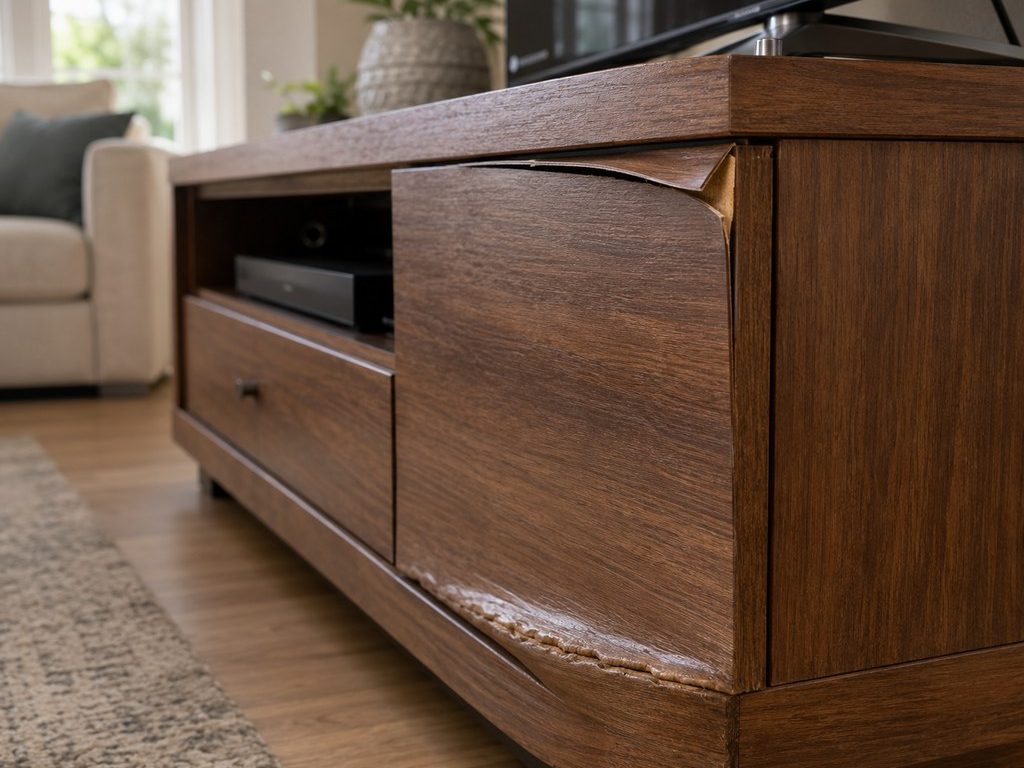
| Lifted grain-like layer | Console table edge or TV stand door | Veneer or surface layer lifting | Re-adhere carefully; avoid sanding |
| Soft, swollen edge | TV stand base or cabinet side | Moisture-damaged engineered wood | Assess stability before attempting repair |
A mark that disappears after dusting may not need repair at all. Begin with the same gentle habits used to clean wood furniture safely without damage, because residue, wax buildup, and dried spills can make an intact finish look scratched or dull.
Check the Material Before You Repair
Not every wood-look surface can be repaired the same way. Knowing the basic types of wood for furniture helps you decide whether a mark can be lightly sanded, filled, glued, or only touched up.
- Solid wood: Usually allows limited filling, light sanding, and color blending when damage reaches the wood itself.
- Wood veneer: Needs a lighter touch. Reattach small lifted edges, but avoid heavy sanding or excess moisture that can expose or loosen the thin surface layer.
- MDF or particleboard: Treat soft or swollen edges cautiously. A cosmetic touch-up may improve the look, but filler or glue may not restore the board’s original strength.
When the material is unclear, start with the least invasive option. Do not sand aggressively, soak the surface, or pull up a loose layer just to inspect it.
How to Repair Wood Furniture by Damage Type
The right repair starts with the damaged layer, not the product nearest your toolbox. Cosmetic repairs should preserve as much of the original finish as possible. Structural repairs need to restore a stable connection before you worry about color. Veneer and moisture damage require the most restraint because sanding or excess liquid can make a small problem much more visible.
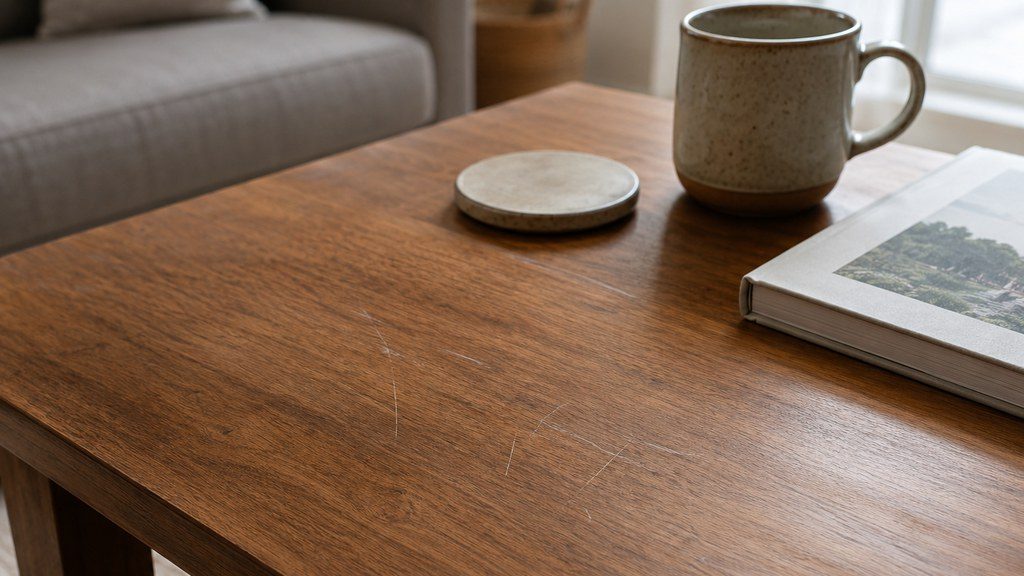
Light Scratches and Finish Scuffs
For anyone searching how to repair scratches in wood furniture, the fingernail test is a useful starting point. If your nail does not catch in the mark, the wood itself may still be protected. Clean the surface, dry it fully, and inspect it near a window before using color.
A matching touch-up marker, wax fill stick, or finish restorer may reduce the contrast of a shallow scuff. Apply very little at first. Build color gradually, then wipe away excess before it settles in surrounding grain. A dark marker can make a fine scratch look worse if it creates a sharp line rather than blending with the wood tone.
On a coffee table, this often happens after a remote, ceramic vase, or decorative tray has been dragged across the top. The goal is not to make the surface look newly stained; it is to make the repair less noticeable from normal viewing distance.
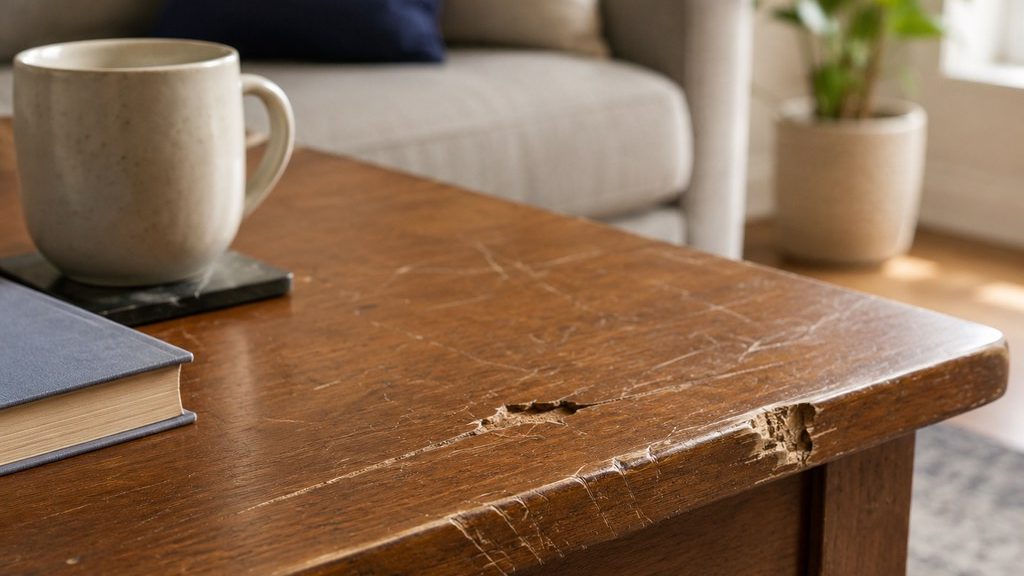
Deep Scratches, Gouges, and Chipped Corners
A scratch that catches your fingernail usually needs more than color. It may have removed finish and compressed or removed wood fibers. Small flaws in a sealed surface can often be leveled with a wax fill stick or wood putty. For bare solid wood that will be sanded and recolored, a stainable wood filler may be more appropriate.
Use two-part epoxy only for stable, deeper voids or missing corners that need rebuilding. It can create a durable repair on a chipped coffee table edge, but it will not automatically reproduce natural grain. After the repair cures, level only the repaired spot when the surface can handle sanding, then blend color and sheen in thin layers.
Do not use filler to stabilize a moving leg, loose drawer front, or split joint. Cosmetic material cannot solve a structural problem.
Loose Joints and Split Solid Wood
To understand how to repair split wood furniture, first check whether the broken parts still meet cleanly. Wood glue works best when two wood surfaces can be pressed back together without a wide gap. Dry-fit the joint before applying glue. If the parts align, spread adhesive evenly, clamp the joint firmly, wipe away squeeze-out, and leave it undisturbed for the full cure time listed on the product.
A side table may develop a wobble after being moved across a rug, while a console table can loosen after repeated drawer pulls or uneven floor pressure. Tighten visible hardware first. Then inspect the joint itself. If a leg is cracked through, a joint no longer closes, or the furniture still moves after repair, stop using it until a professional can assess it.
This is also the safest approach for how to repair broken wood furniture when the broken area supports weight. A repair that looks smooth but remains weak is not a successful repair.
Lifted Veneer and Swollen Cabinet Edges
Lifted veneer often appears on console table edges, TV stand doors, or cabinet panels where moisture, heat, or an aging adhesive has weakened the bond. If only a small edge has lifted and the underlying panel is stable, carefully remove loose debris, apply a small amount of suitable adhesive under the veneer, and press it flat with a padded block or light clamping pressure.
Do not flood the area with glue or water. Excess moisture can spread into the core and create a wider raised edge. Avoid aggressive sanding as well; veneer can be too thin to recover from a heavy pass.
If the panel beneath feels soft, flakes apart, or has visibly swollen, the problem is no longer just cosmetic. A touch-up may improve the appearance, but it may not restore the strength needed to hold a hinge, drawer slide, or cabinet door.
When Should You Repair, Refinish, or Stop?
Choose a local repair when the damage is limited and the surrounding finish still looks even. A single scratch on a side table, a shallow coffee table chip, or a clean loose joint can often be addressed without changing the whole piece.
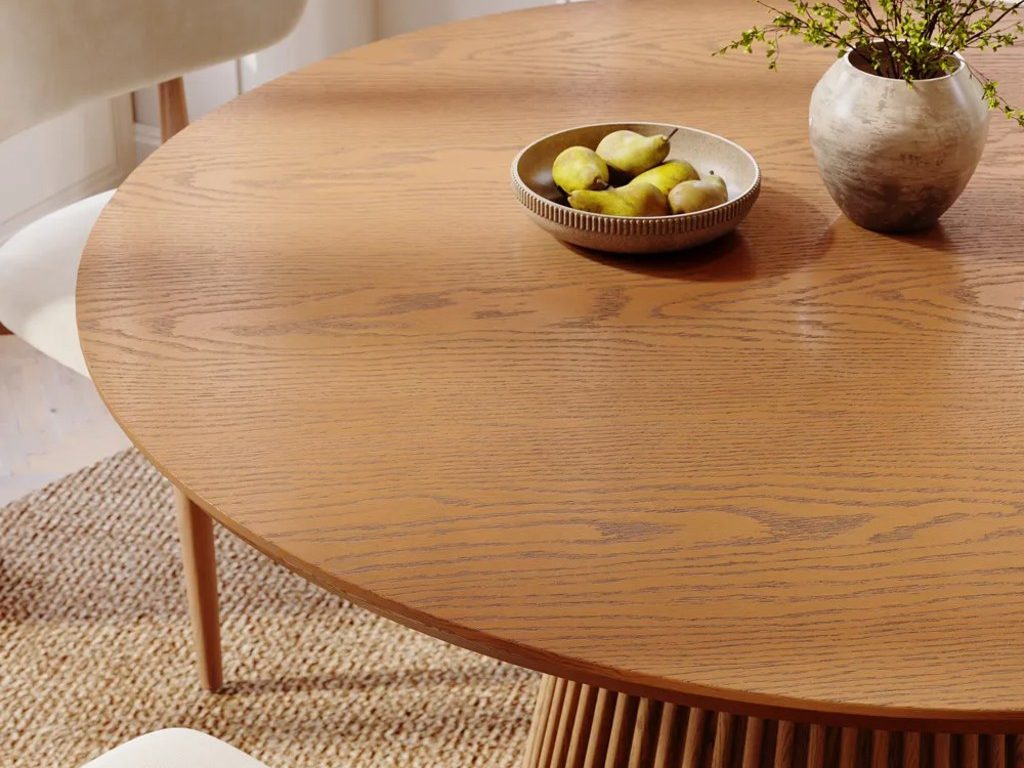
Consider refinishing when wear covers a large part of the surface: repeated scratches across an entire tabletop, an uneven faded finish, or several old touch-ups that no longer blend. Refinishing mid century modern furniture is a larger project because it involves evaluating the finish, veneer condition, color, and protective topcoat together.
Stop DIY and seek help when:
- A table or cabinet leg is split through or remains unstable after repair.
- A TV stand panel is soft, swollen, or unable to hold hardware securely.
- Veneer is missing across a large area or lifting over a damaged core.
- The piece is antique, rare, sentimental, or has an unknown original finish.
- A repair would require replacing joinery, rebuilding a corner, or drilling new structural holes.
The best choice is not always the fastest fix. A careful decision can prevent a local issue from becoming a full replacement project.
Keep Repairs From Standing Out or Failing Again
A repair can be structurally sound but still look obvious when the color, sheen, or grain direction does not match. Check every repair in daylight before deciding it is finished. Warm indoor lighting can hide a gray undertone, a glossy patch, or a dark fill line that becomes noticeable near a window.
Use these habits to protect repaired furniture:
- Match color before trying to make the repair darker.
- Add pigment in thin layers instead of using one heavy application.
- Follow the grain direction when blending a deeper scratch.
- Use coasters under drinks and trays under frequently moved décor.
- Add felt pads under lamps, speakers, vases, and planters.
- Keep humidifiers, wet umbrellas, and dripping plant pots away from cabinet edges.
- Follow the existing finish care instructions instead of treating oil or wax as a universal repair product.
- Wait for glue, filler, stain, and clear finish to reach full cure before normal use.
A coffee table used during movie nights may need a tray for drinks and snacks. A console table near an entry may need a shallow catchall tray so keys, rain-damp items, and daily clutter do not repeatedly scrape the same edge.
Conclusion
Learning how to repair wood furniture is less about memorizing one universal method and more about matching the repair to the real problem. Clean and inspect first, then decide whether you are dealing with a finish scuff, missing material, loose structure, lifted veneer, or moisture-damaged board. Preserve intact surfaces whenever possible, repair structural issues before cosmetic ones, and avoid sanding by default. With a careful, low-risk approach, many coffee tables, side tables, console tables, and TV stands can stay useful and presentable for much longer.
FAQ
Should I buy a furniture touch-up kit for one small scratch?
Not always. For one minor mark on a coffee table or side table, a single color-matched wax stick or touch-up marker is usually easier to control than a large kit. Buy a broader kit when the piece has several tones, repeated edge wear, or multiple rooms with similar wood finishes.
Can I use leftover stain or paint from another furniture project?
Only if it matches both the color and the existing finish type. A leftover stain may look too warm, too dark, or too matte on a sealed console table or TV stand. Test it underneath or on an unseen back edge first, and avoid using paint when the surrounding surface still shows natural wood grain.
How do I fix a loose console table drawer front without replacing the drawer?
First check whether the drawer front itself is loose or whether the drawer box, slide, or handle hardware is moving. A solid front panel that has separated cleanly from the drawer box can often be reglued and clamped. If the mounting area is cracked, swollen, or stripped, replacing hardware alone may not solve it.
What should I measure before ordering replacement hardware for a repaired cabinet?
Measure the original hole spacing center to center, screw diameter, hardware projection, door overlay, and drawer-slide length before ordering. Also inspect the mounting surface closely. New pulls, hinges, or slides will not stay secure if the screw holes are enlarged, the panel is swollen, or the board is cracking around them.
How can I repair a TV stand without risking nearby electronics?
Remove or unplug electronics before using glue, cleaners, filler, or touch-up products. Keep liquids away from cable openings, ventilation areas, and power strips, and let any repair fully dry before reconnecting equipment. Do not permanently glue a rear panel or access cover that you may need to remove for cable changes or service.
Can I replace only one damaged drawer front or cabinet door?
Yes, but it works best when the cabinet structure is still sound and you can closely match the original panel. Before ordering a replacement, compare the thickness, edge profile, handle-hole spacing, grain direction, wood tone, and sheen. A single new front may function well but still stand out if its finish or proportions differ from the surrounding pieces.