 By Kelvin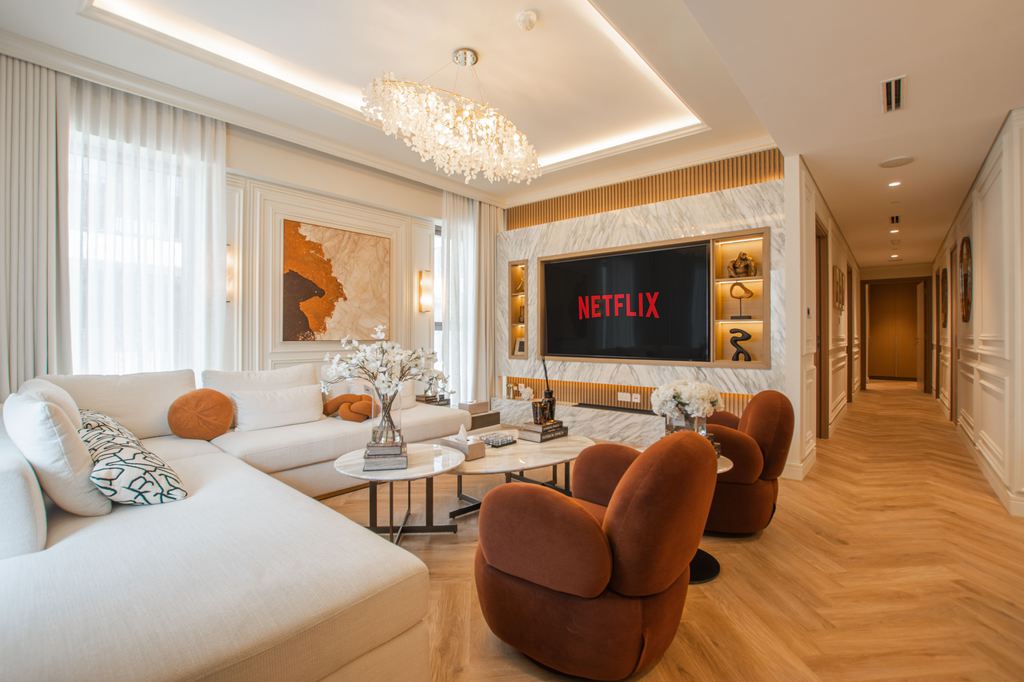
Introduction
A living-room home theater often succeeds or fails before you turn on the TV. The media console determines where the screen sits, where a soundbar and devices can go, how cables reach power, and whether active equipment has room to breathe. This home theater setup guide helps beginners start with that furniture foundation, then build a practical setup around it. Rather than buying every device first and solving storage later, choose a media console that supports the way you watch, play, and use the room every day.
Table of Contents
What Do You Need to Build a Home Theater in a Living Room?
A basic setup does not require a dedicated theater room or a long shopping list. Most beginners can start with a screen, clearer sound, comfortable seating, and a media console that keeps devices organized.
| Component | What It Adds | What the Media Console Needs to Support |
| TV or projector | Picture | Stable placement or room for related devices |
| Soundbar | Clearer dialogue and fuller sound | An open position below the screen |
| Streaming device or game console | Content and inputs | Accessible storage and cable paths |
| AV receiver | Separate speakers and more connections | Extra interior depth, airflow, and rear access |
| Media console | Device storage and cable control | The foundation for the full setup |
You can begin with a TV, soundbar, and one streaming device. Add a subwoofer when you want more impact. Separate speakers and an AV receiver can come later, once the room and media console have enough capacity to support them. For beginners, a home theater setup guide should start with the equipment you use most often and the media console that will hold it.
Why Does a Media Console Matter in a Living Room Home Theater?
A media console is not simply the furniture below the screen. It is where the technical side of a home theater meets the practical side of a living room. It affects TV height, soundbar placement, device storage, cable routing, equipment access, and the overall balance of the TV wall.
Without enough interior depth, a game console or receiver may fit only before its cables are attached. Without accessible rear openings, a simple reset can mean pulling the entire cabinet away from the wall. Without storage, controllers, remotes, chargers, and loose HDMI cables often end up on the coffee table.
A well-planned media console home theater setup should help the room feel calmer after a movie, not leave it looking like an equipment corner. Closed storage can contain accessories, while shelves, doors, and cable openings make active devices easier to use without leaving everything on display.
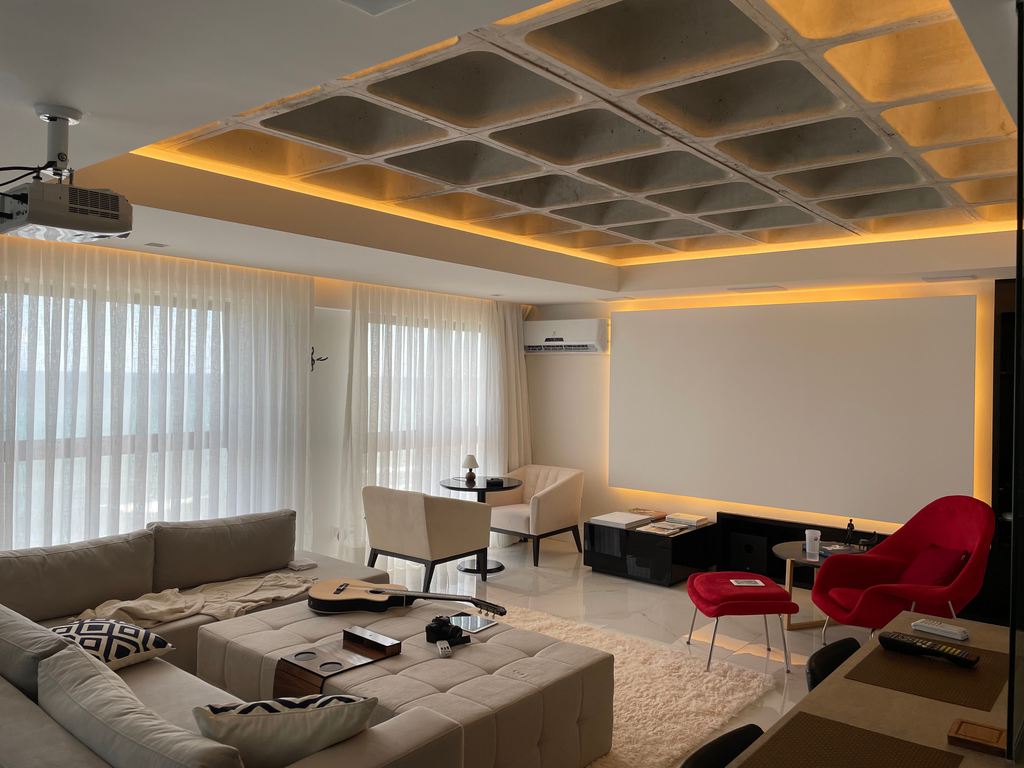
What Features Should a Media Console Have for a Home Theater Setup?
Before choosing a finish or style, focus on what the media console must do after every device is connected. The right features depend on whether you are running a simple TV and soundbar setup or adding a receiver, game console, router, and several streaming devices. Prioritize usable space over a cabinet that only looks large from the outside.
Enough Interior Depth for Connected Devices
The listed depth of a receiver or game console is not the full space it needs. HDMI connectors, power cords, Ethernet cables, and speaker wires extend behind the device and need room to bend naturally.
For a simple setup, one open shelf may be enough for a streaming box or console. For a receiver-based system, look for a deeper bay that can accommodate equipment after all cables are connected. Do not assume that an exterior cabinet measurement equals usable interior space.
Ventilation, IR Access, and Rear Cable Paths
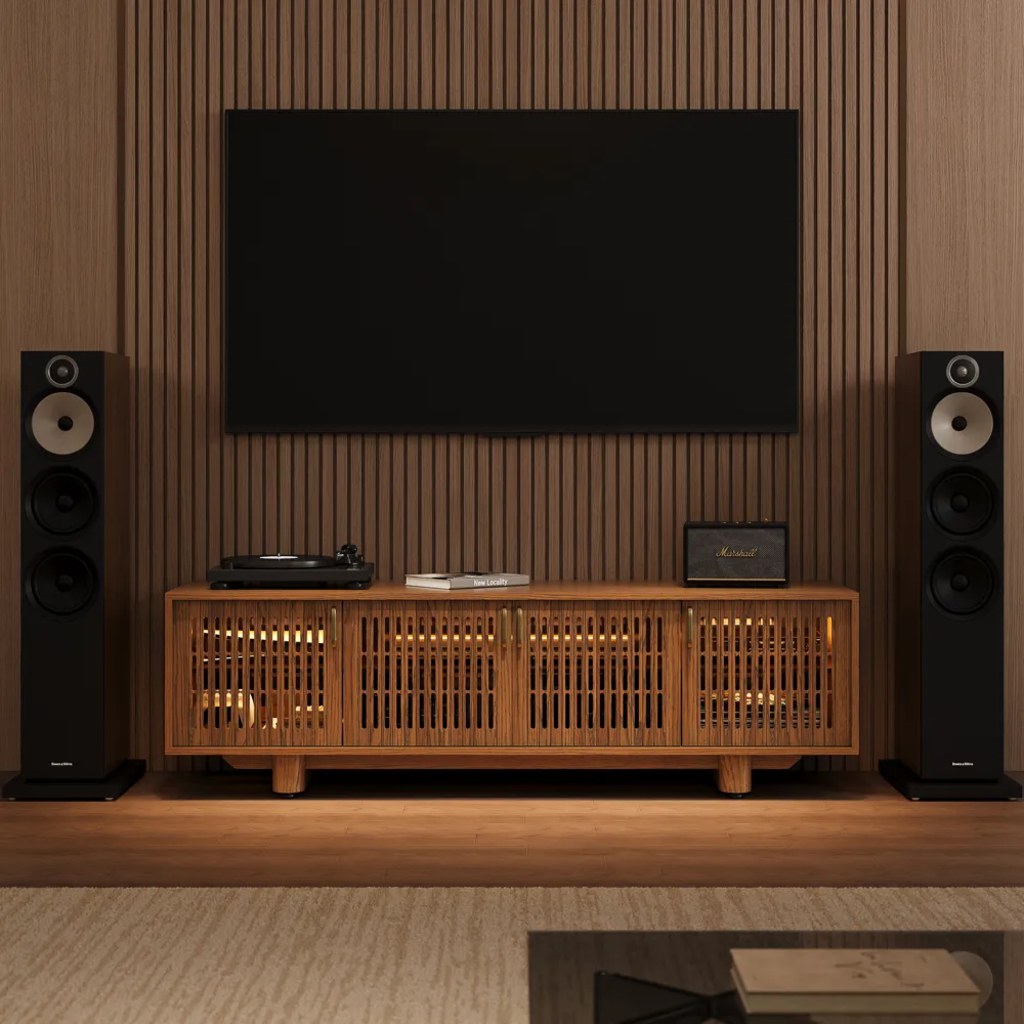
Heat and signal access matter most when the console holds active equipment. An AV receiver, router, game console, or media player should not be sealed into a tight compartment with no path for warm air to escape. Slatted or ventilated doors can help keep equipment out of sight while allowing airflow and remote signals to pass through.
For a living room with an AV receiver, game console, and streaming device, the Arboren 17″ Deep Vented Rolling Media Console gives connected components more workable room than a shallow cabinet. Its 17.7-inch interior depth helps accommodate equipment after cables are attached, while slatted doors support IR remote control for devices stored inside.
Storage That Helps the Room Reset Quickly
Not every item needs to stay visible. Use enclosed compartments for remotes, controllers, charging cables, headphones, game cases, and spare adapters. Keep frequently used equipment where it can be reached without opening several doors or moving decor.
A cable route should be planned before the media console is pushed against the wall. Cable routing behind a media console is easier when power, HDMI, and speaker cables follow separate paths instead of gathering into one visible bundle.
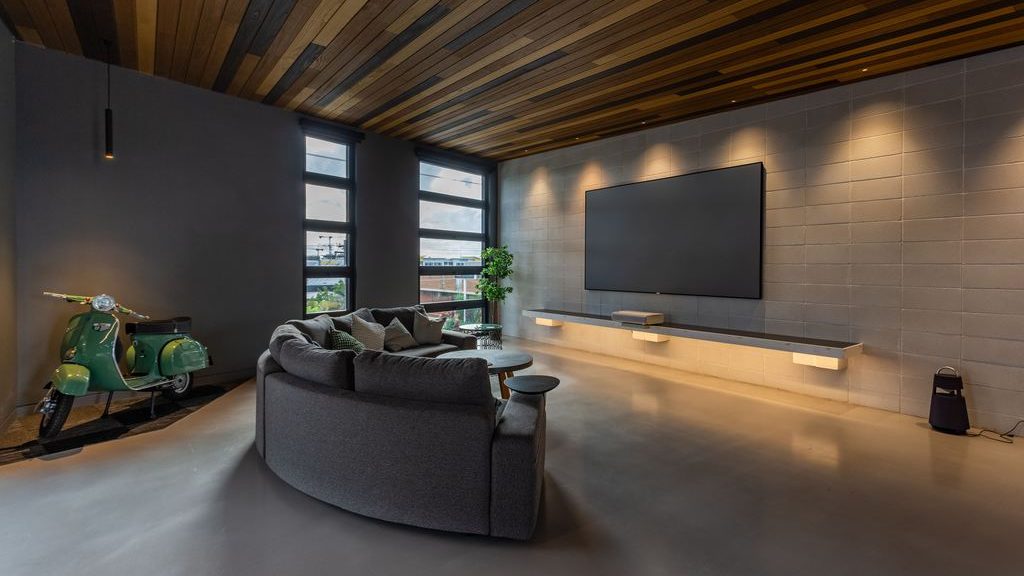
How Does a Media Console Shape Your Home Theater Layout?
The media console sets more than storage capacity. Its height affects where the TV lands in your sightline, its width changes the visual weight of the screen wall, and its placement influences where seating, speakers, and walking paths can go. Start the layout from the console outward instead of treating it as a final decorative addition.
Set the Screen and Soundbar Around the Console
When the TV sits on a media console, its final height comes from the cabinet height, TV feet, and the screen itself. The screen should feel comfortable from the main seat, not sit so high that viewers need to tilt their heads upward during a long movie.
Leave a clear area below the TV for the soundbar. It should not be trapped behind a solid cabinet front or crowded by decorative objects. A media console height for a 75-inch TV should be considered alongside your sofa height and the space needed for audio equipment.
Protect Seating and the Main Walkway
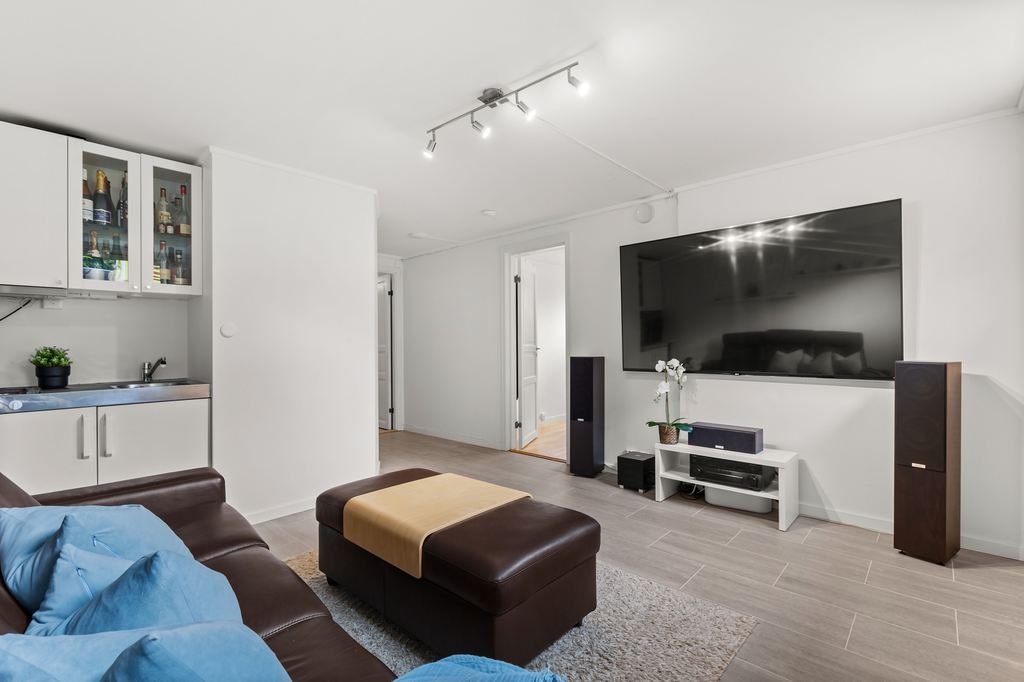
A living room home cinema still needs to function between movie nights. Place the main sofa or sectional where the most-used seats have a clear view of the screen. Then check that people can move between the seating area and TV wall without stepping around a subwoofer, speaker wire, or open cabinet door.
For a weekend sports game, side seating may matter as much as the center seat. Keep the coffee table clear enough for drinks and snacks, and let side tables handle remotes, charging cables, or headphones. The media console should hold the rest instead of forcing those items onto every nearby surface.
Let the TV Wall Match the Rest of the Room
A wider media console can help a large screen feel grounded, especially in an open-plan room where the TV wall sits beside a sofa, dining area, or substantial rug. Wood tone, cabinet shape, and the amount of visible storage all affect whether the setup feels integrated or temporary.
How Do You Check a Media Console Before You Buy?
Measure the equipment you already own before choosing a media console. Focus on usable cabinet space, not just the exterior dimensions shown on the product page.
- Measure devices with cables attached.
- Check interior depth, not outside depth.
- Leave room behind devices for plugs and cable bends.
- Make sure doors can close without pressing on cords.
- Confirm the TV base sits fully on the top surface.
- Keep the soundbar, outlets, and device controls easy to reach.
For a receiver-based setup, also confirm that the cabinet leaves the airflow space required by the receiver manufacturer. Use a media console width guide for large TVs when your screen has widely spaced feet or a center pedestal, rather than relying on a generic “fits up to” label.
Which Home Theater Setup Fits Your Living Room?
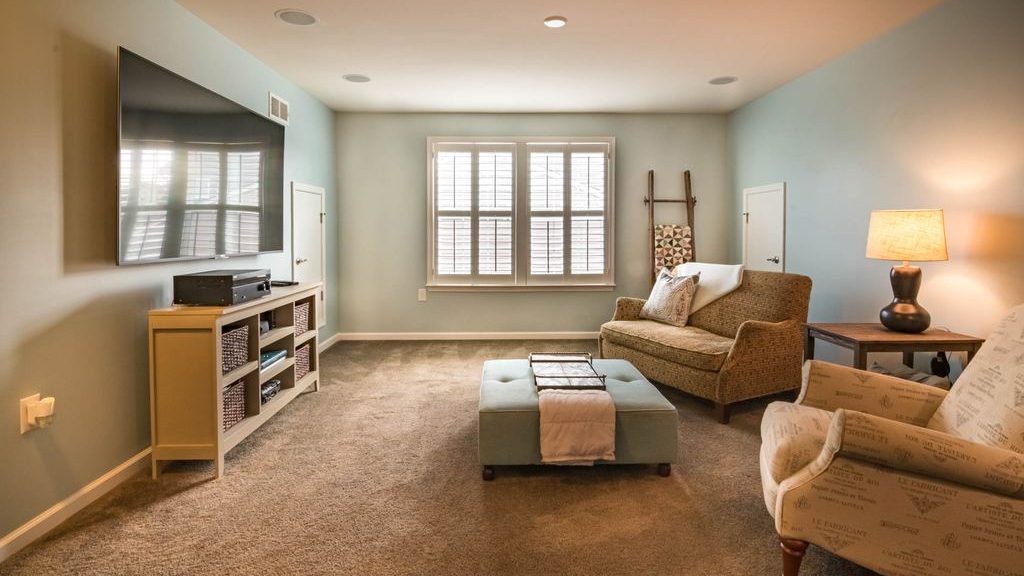
The right setup depends on how the room is used when no one is watching a movie. A bright family room, an open-plan layout, and a movie-first space do not need the same screen, audio, or furniture plan. Choose the route that supports your routine without taking over the rest of the living room.
| Living Room Situation | Setup That Usually Fits | Layout Priority | What to Avoid |
| Bright room used throughout the day | TV + soundbar | Keep the screen easy to see from the main sofa | Choosing a projector that needs blackout conditions |
| Small or rental living room | TV + soundbar + streaming device | Preserve the walkway and keep equipment contained | Adding rear speakers with nowhere practical to place them |
| Open-plan family room | TV + soundbar, with an optional subwoofer | Define the viewing zone without blocking paths to the kitchen or dining area | Letting cords, controllers, and devices spread into shared spaces |
| Movie-first living room | Large TV or UST projector + receiver-based audio | Build around one clear primary viewing position | Using a shallow cabinet that cannot support connected equipment |
| Gaming and sports-focused room | TV + soundbar or receiver + game console | Keep controls, charging gear, and extra seating easy to reach | Relying on the coffee table as permanent device storage |
For most beginners, a TV and soundbar provide the easiest starting point. Add a subwoofer, rear speakers, or an AV receiver only when the room has a clear place for them and the media console can support the added equipment. This is where a home theater setup guide becomes useful: it helps you build around the room you have instead of buying a system designed for a different one.
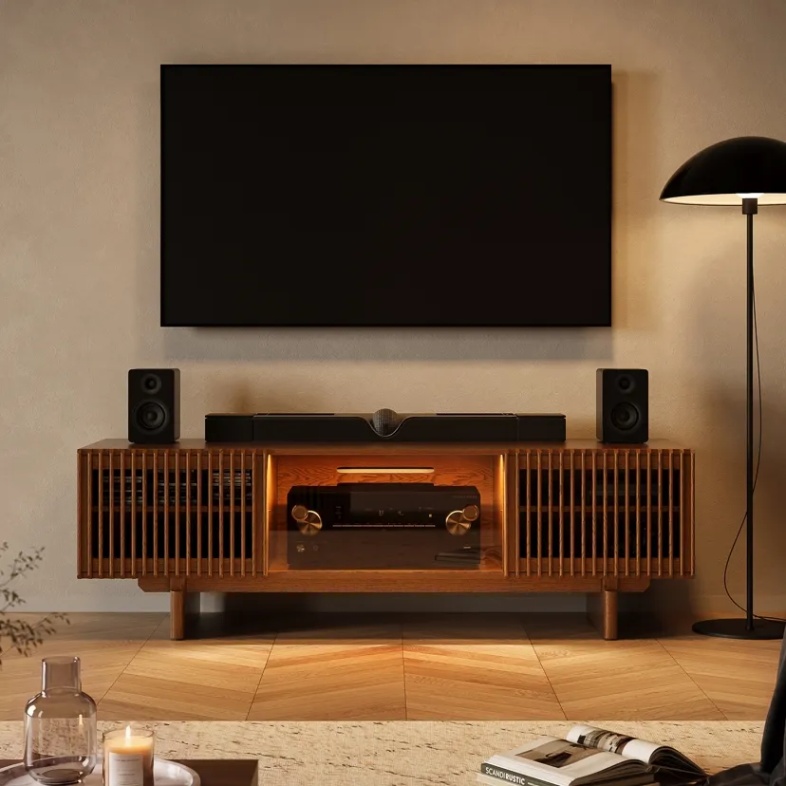
For an open-plan family room where the TV wall is visible from the sofa and dining area, a wide media console needs to hold everyday gear without looking overly technical. The Arboren 71″ Mid-Century Modern Media Console gives a large TV and soundbar one grounded base. Its walnut finish warms the room, while cable openings and a 250-pound top support a larger screen without visible cords.
Conclusion
A living-room home theater does not need to begin with the biggest screen or the most speakers. It begins with a media console that can support the screen, soundbar, devices, cables, storage, and daily routines around them. Choose the console after you understand what it needs to hold, then let that decision guide the rest of the room. Used this way, a home theater setup guide becomes less about adding equipment and more about creating a viewing space that works every day.
FAQ
Should I Anchor a Media Console That Holds a Large TV?
Follow the furniture and TV manufacturers’ instructions, especially when children or pets use the room. Anti-tip hardware can reduce tipping risk when doors or drawers are opened, someone leans on the cabinet, or a child reaches toward the screen. Keep heavier items in lower compartments whenever possible.
What Changes if You Use a UST Projector Instead of a TV?
A UST projector needs precise furniture planning because image alignment depends on cabinet height and exact distance from the wall. Check the manufacturer’s placement chart for your specific model before selecting a media console. Even a small change in height or front-to-wall position can affect image geometry.
Does a Wide Media Console Need a Center Support Leg?
Often, yes, especially when it will hold a large TV and several heavy media components. A center support leg helps reduce sagging across a long span and can improve stability over time. Check the product’s stated weight capacity and whether the support structure is designed for the load you plan to place on it.
Should I Use a Surge Protector for a Home Theater Setup?
Yes, a quality surge protector is useful when several devices share one TV area. Choose one with enough outlets for current equipment and limited future additions. Keep it accessible for resets, avoid overloading it, and never connect one power strip to another.
Is a Rolling Media Console Useful for a Home Theater Setup?
A rolling media console is useful when you need regular access to rear ports, wall outlets, or the floor behind the setup. It can also make cleaning easier without disconnecting equipment. It is most practical on smooth flooring; confirm that the casters lock securely once the cabinet is in place.
How Can You Protect a Media Console From Subwoofer Vibration?
Keep the subwoofer on the floor rather than directly inside or on top of the media console. If vibration travels through the floor or causes nearby objects to rattle, use isolation feet or a purpose-made pad. Test at normal listening volume before deciding whether the subwoofer needs a different position.


