 By Stephanie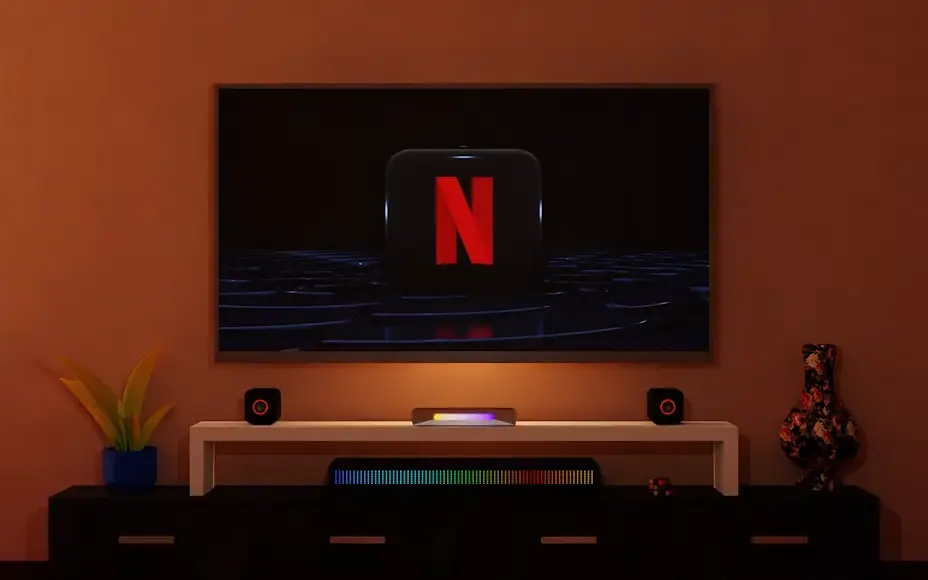
A home entertainment system should make streaming, gaming, sports, and everyday TV easier—not leave you guessing which device connects where. This guide explains how to set up a home entertainment system by first choosing a simple signal path, then connecting and testing each device in a practical order. You will also learn what to check before plugging anything in, when an AV receiver actually helps, and how the media console affects cable access, airflow, and daily use once the electronics move into a real living room.
Table of Contents
What Do You Need for a Home Entertainment System?
A home entertainment system does not require every component commonly associated with a home theater. Start with the functions the system needs to perform: show a picture, provide content, deliver audio, and connect the devices that depend on your home network. Add equipment only when it supports the way you actually watch or play.
| System Need | Minimum Starting Point | Add More When |
| Picture | Smart TV | You specifically need a projector-based setup |
| Content | Built-in apps or one streamer | You add gaming, disc playback, or another source |
| Audio | TV speakers | You want a soundbar or separate speaker system |
| Network | Stable Wi-Fi | A stationary device benefits from wired Ethernet |
| Connections | Required HDMI and power cables | Additional sources need their own compatible connections |
A smart TV with built-in apps can already cover the basic picture and content functions. Additional devices should be chosen based on how you use the room, not because a complete entertainment system is expected to include every available component.
Should Your TV or AV Receiver Be the System Hub?
Before learning how to connect a home entertainment system, decide which device will handle the sources. A TV can usually serve as the hub for a streamlined setup with a soundbar, streamer, and game console. An AV receiver becomes more useful when multiple sources also need to work with separate speakers. This decision determines where your HDMI cables go and which device handles input switching.
Use the TV as the Hub for Simpler Systems
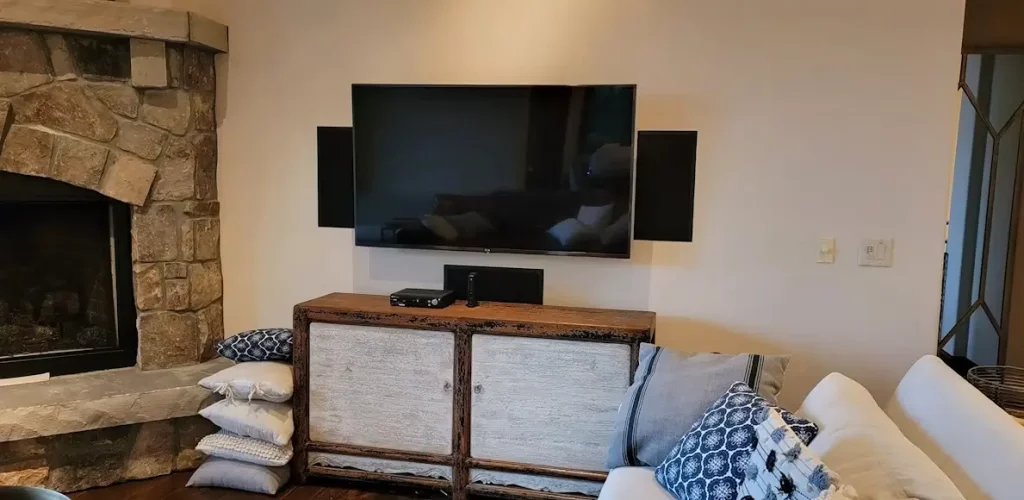
For a smart TV with a soundbar, connect the TV’s ARC/eARC port to the matching soundbar port. A separate streamer or game console can use the remaining compatible TV HDMI inputs.
This keeps the signal path short:
Streamer / Game Console → TV → Soundbar
It works well for a shared living room where streaming, sports, and gaming all happen on the same screen without a separate multi-speaker system. Before connecting everything, count the TV’s usable HDMI inputs and reserve the required ARC/eARC connection for audio.
Use an AV Receiver as the Hub for Separate Speakers
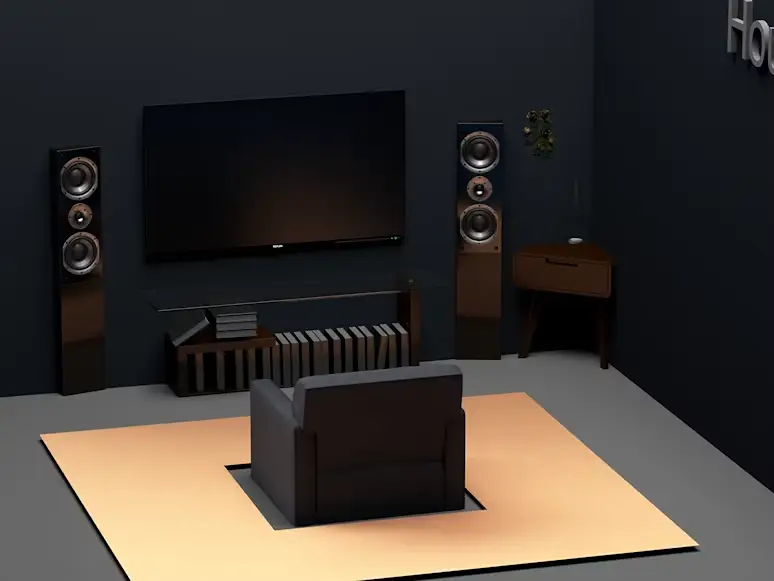
When several sources need to feed a separate speaker system, an AV receiver can take over source switching:
Streamer / Game Console / Disc Player → AV Receiver → TV
The receiver also connects to the compatible speaker system. If you use apps built into the TV, confirm how the TV sends audio back through ARC/eARC.
A receiver is therefore not an automatic upgrade for every home entertainment system. It makes the most sense when your source count, speaker arrangement, or switching needs justify the additional routing.
What Should You Check Before Connecting Anything?
Before you connect the first HDMI cable, confirm that the devices can actually follow the signal path you chose. This catches compatibility problems while every port is still visible and accessible.
- Count the source devices that need HDMI inputs.
- Identify the TV and audio device ports labeled ARC or eARC.
- If an AV receiver carries video to the TV, confirm it supports the video formats your sources require.
- Decide which stationary devices will use Wi-Fi or Ethernet.
- Check that the required HDMI, network, and power cables can reach without being stretched.
- Confirm that accessible outlets are available for the devices in the system.
Do this before final furniture placement or cable concealment. Furniture requirements should be evaluated after you know which devices are actually part of the system. Different setups create different needs for storage space, airflow, and cable access.
How to Setup a Home Entertainment System Step by Step
Once the system type and compatibility are clear, connect it in layers. The order matters because troubleshooting is much easier when only one new connection is added at a time. Do not bundle, label, or conceal every cord at the beginning; first prove that the picture, sound, sources, network, and controls work from the seats you use every day.
Step 1: Position the TV and Equipment Hub
Place the TV for a comfortable, unobstructed view, then decide where the soundbar, console, streamer, receiver, and router will live. Keep devices that may need occasional resets or manual controls reachable, but do not finalize the media console position yet.
Step 2: Connect Your Source Devices
For a TV-centered system, connect streamers and consoles to labeled TV HDMI inputs. For a receiver-centered system, connect compatible sources to the receiver, then run its HDMI output to the TV. Note which source uses each input.
Step 3: Connect the Audio
With a soundbar, connect the TV’s ARC/eARC port to the soundbar’s matching port. With an AV receiver and separate speakers, follow its channel and speaker-terminal instructions. Then select the intended TV audio output.
Step 4: Connect the Network
Connect online devices after the video and audio path works. Ethernet is useful for a stationary high-use device when practical; stable Wi-Fi is fine when signal strength is good. Avoid burying a router in a dense, fully enclosed compartment.
Step 5: Connect Power Without Finalizing the Cables
Connect power only after the signal cables are in place. Keep outlets and power connections accessible, and do not tighten cable bundles or push the console fully against the wall yet. You still need enough room to correct an HDMI connection or replace a cable during testing.
Step 6: Label Inputs and Device Cables
Match each source to its HDMI input and label connections that will be difficult to see once the equipment is inside the cabinet. Clear labels such as “Console,” “Streamer,” and “AVR to TV” are more useful than relying on HDMI port numbers months later.
Step 7: Stop Before Final Cable Management
At this point, every device should be connected, but the installation should still be easy to change. Do not tighten cable bundles, replace difficult rear panels, or push the console fully against the wall yet. Run the complete system test first so a failed input, audio connection, or network link can be corrected without undoing finished cable work.
Match the Media Console to the System You Built
Once the signal path is settled, you can tell what the furniture actually needs to support. A TV-centered setup with a streamer and game console may mainly need organized cable paths and accessible device storage. A receiver-centered system puts more pressure on interior depth, airflow, and rear service access.
The right media console depends on the role your furniture plays in the system. A simple streaming setup mainly needs clean access and organization, while a more complex setup needs room for equipment changes, airflow, and easier maintenance. If that component is an AV receiver, measure it in its connected position; the same media console fit checks for an AV receiver with connected cables can then be applied without repeating the full measurement process here.
For a mixed-device setup that may change over time, the Delven Verse Mid-Century Modern TV Stand provides 18.3 inches of usable interior depth for larger components while keeping the layout flexible. Its two removable shelves make it easier to reorganize the cabinet as devices change, while six internal and three rear cable openings help separate power, HDMI, and network connections instead of forcing every device into one crowded cable path.
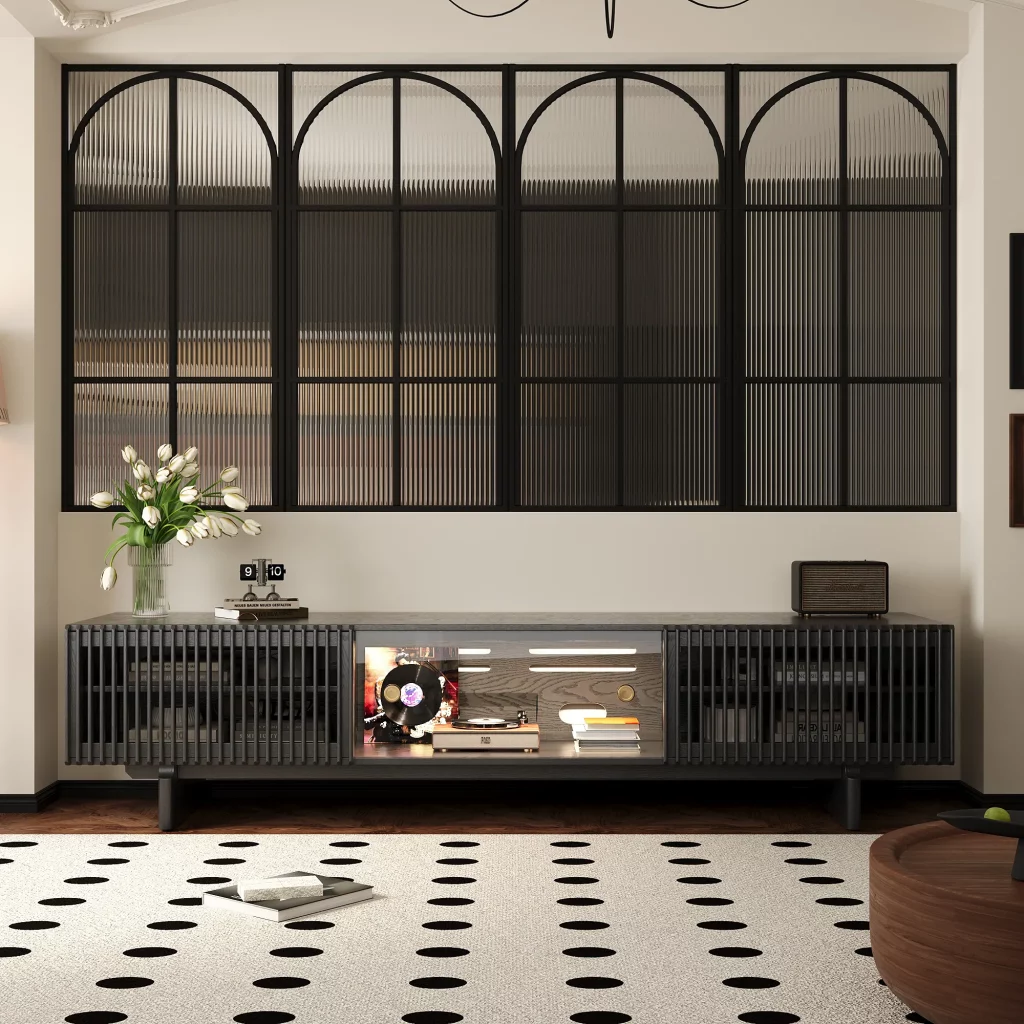
POVISON Delven Verse 71-inch Media Console
A flexible choice for evolving entertainment setups, with room to reorganize as your devices change over time.
For a receiver-heavy system where equipment access matters as much as storage, the Delven Axis Deep Vented Rolling Media Console focuses on long-term equipment management. Its 18.7-inch usable interior depth supports deeper AV components, while ventilated metal shelves and slotted airflow design help active devices operate in a more open environment. Removable rear panels and concealed wheels also make future HDMI or speaker-wire changes easier without moving the entire entertainment setup apart.
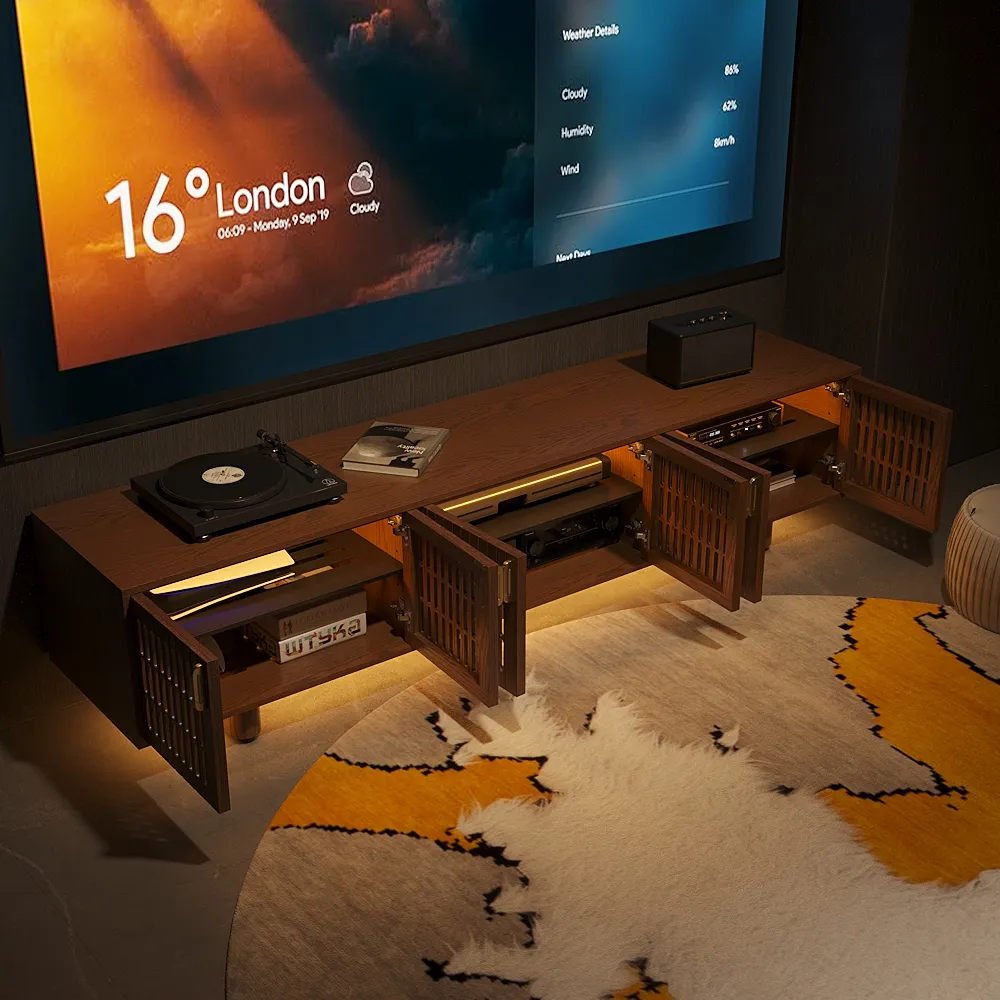
POVISON Delven Axis Deep Vented Rolling Media Console
Designed for more demanding AV setups where equipment access, airflow, and future adjustments matter.
How Do You Test the Setup Before You Finish?
Do one final test from the main sofa with the furniture and cabinet doors in their normal positions. This catches problems that are easy to miss while standing next to the TV.
- Power: Start and shut down every device normally.
- Picture: Check every HDMI source for a stable image.
- Audio: Confirm sound comes from the intended soundbar or speaker system.
- Sources: Open the streaming apps and games you actually use.
- Network: Play online content long enough to confirm a stable connection.
- Controls: Test volume, input switching, and remotes with cabinet doors closed.
Only after all six checks pass should you tighten cable bundles and move the console into its final position.
Conclusion
Once you know how to setup a home entertainment system, the goal is not to add the most equipment; it is to create the shortest reliable path between the content you use, the screen, the audio, and the seats where you enjoy them. Choose the system architecture first, verify compatibility before hiding cables, and test every source before the furniture returns to its final position. A media console should then support the connected equipment with enough usable space, airflow, and service access to keep everyday streaming and gaming easy to manage.
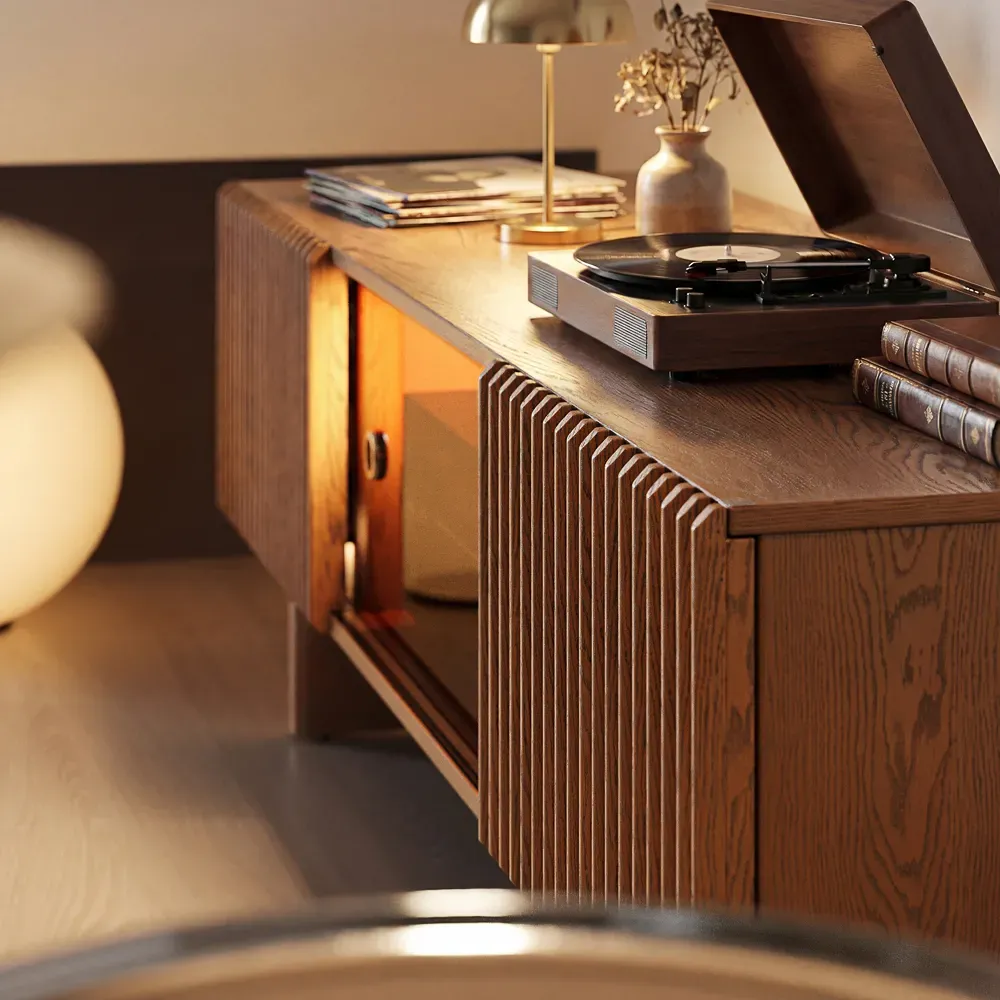
Build a Better Entertainment Setup
Explore media consoles designed to support connected devices with organized storage, cable access, and airflow for everyday entertainment systems.
FAQs
What if my TV does not have enough HDMI ports?
Count the sources that need HDMI and reserve the TV’s ARC/eARC connection for compatible audio equipment when required. If the remaining inputs are insufficient, a compatible AV receiver or HDMI switch may add routing capacity. Check the video formats and features each port supports before buying an adapter or switch.
Will remotes work through closed cabinet doors?
It depends on the remote technology and cabinet front. Traditional infrared remotes generally need a direct or partially open signal path, while Bluetooth or RF controls behave differently. Solid doors may block IR; an IR-friendly media console for remote-controlled devices can provide a signal path when the device sensor is positioned correctly.
Can a soundbar sit inside a media console?
Sometimes, but only if the soundbar’s speakers, ports, and required airflow remain unobstructed. Open shelves or top placement usually provide fewer restrictions than closed compartments. Always follow the soundbar manufacturer’s placement instructions.
When should I hire a professional installer?
Professional help is useful for in-wall wiring, complex speaker systems, electrical work, or installations that require structural mounting. A basic setup with a TV, streamer, soundbar, and game console can usually be completed by following each manufacturer’s instructions.
Can I upgrade a soundbar setup into a surround system later?
Sometimes, but the upgrade path depends on the soundbar model, speaker compatibility, available connections, and room layout. A system designed around a receiver usually offers more flexibility for adding separate speakers later, while many soundbars use their own expansion ecosystem.


