Last spring I helped a friend plan his living room. Fourteen feet of clean drywall, a brand-new 75″ TV still in the box, and a Pinterest board full of “floating media wall” inspiration shots. He kept asking me the same thing: “Can I really pull this off without it looking like a hot mess?”
A floating entertainment center isn’t a TV stand decision. It’s a wall decision. Once you commit to a full media wall — upper cabinets, lower storage, a centered TV, integrated cable runs — you’re building architecture, not buying furniture. And the difference between a setup that looks like a custom millwork install and one that looks like four mismatched boxes screwed to a wall comes down to about six things most buying guides don’t bother explaining.
Here’s everything I wish someone had laid out for him before he hit “add to cart.”
What a Floating Entertainment Center Includes
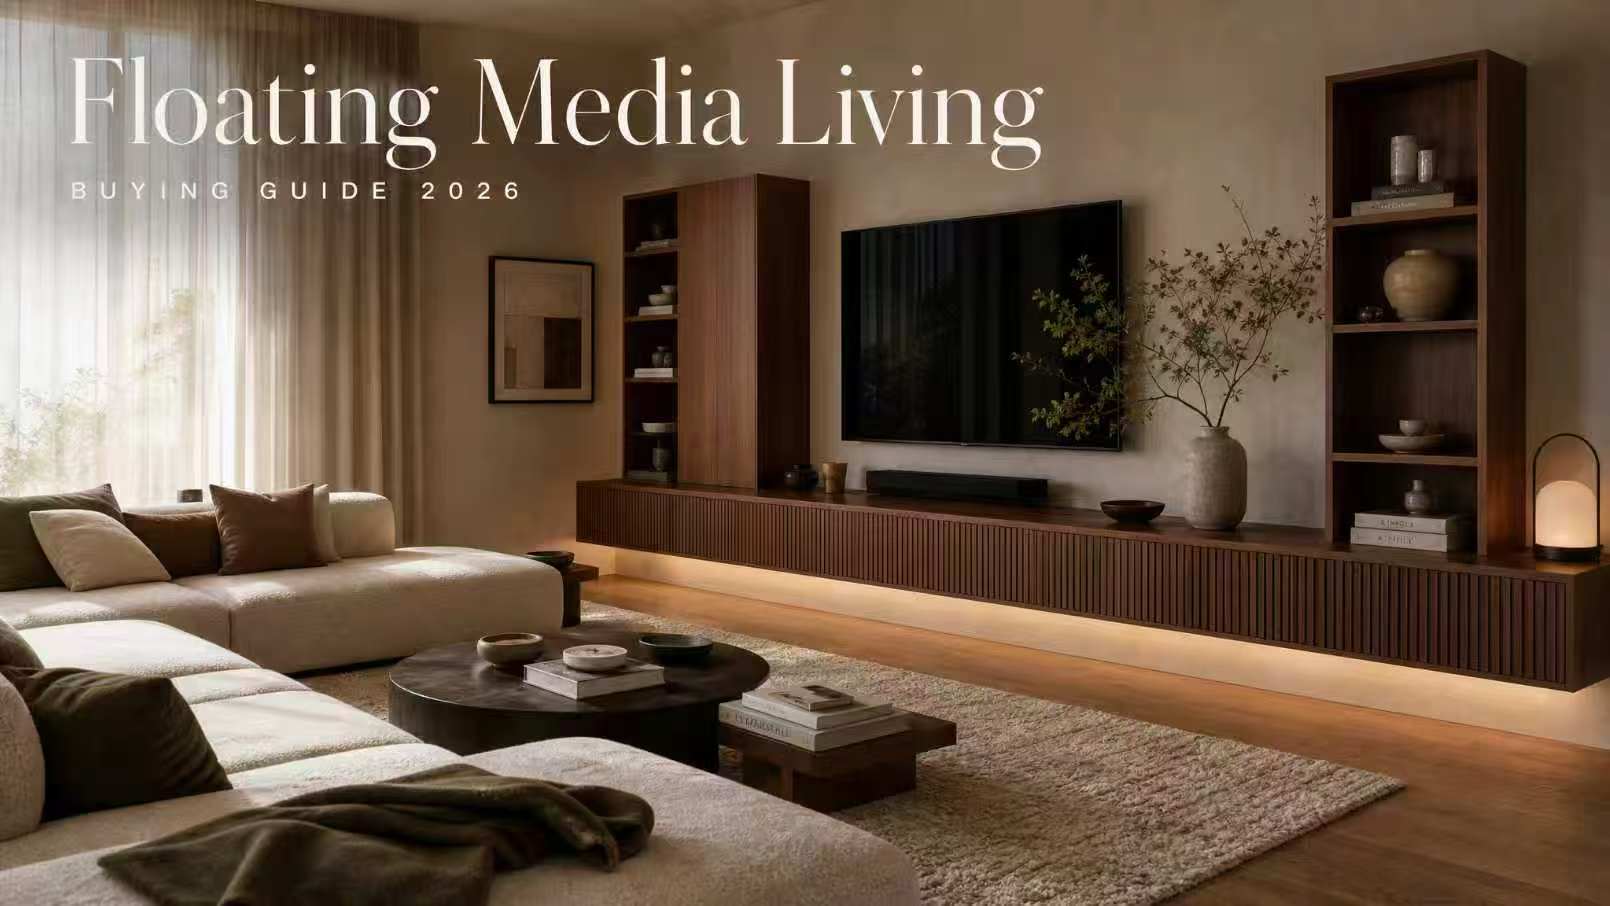
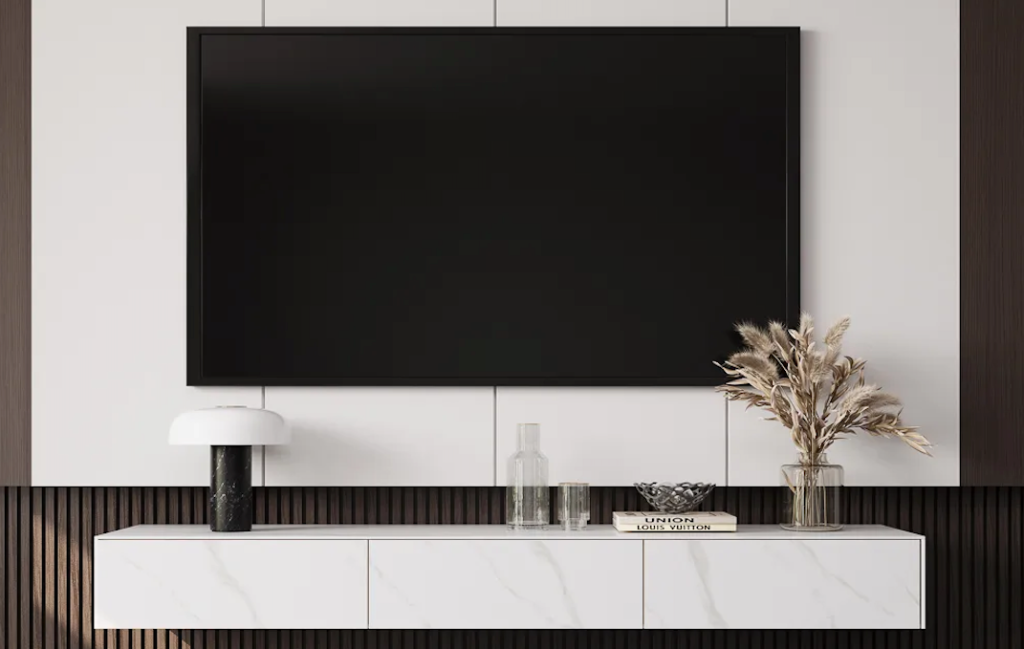
A floating entertainment center is a wall-mounted system of cabinets and shelving designed to function as a complete media wall — not just a single console. The standard configuration includes a lower cabinet run (closed storage, usually 18–24″ tall), a center TV zone (often left open or framed by side units), and upper cabinets or open shelving above the TV. Everything anchors directly to the wall. Nothing touches the floor.
This is the key distinction that gets lost in product listings: a single floating TV console is one piece of furniture. A floating entertainment center is a system. The visual unity comes from the matching finish family across every module — same wood grain, same edge profile, same hardware. Mix brands or finishes and the whole wall reads as cluttered, even when each piece is beautiful on its own.
The components you’re typically planning around:
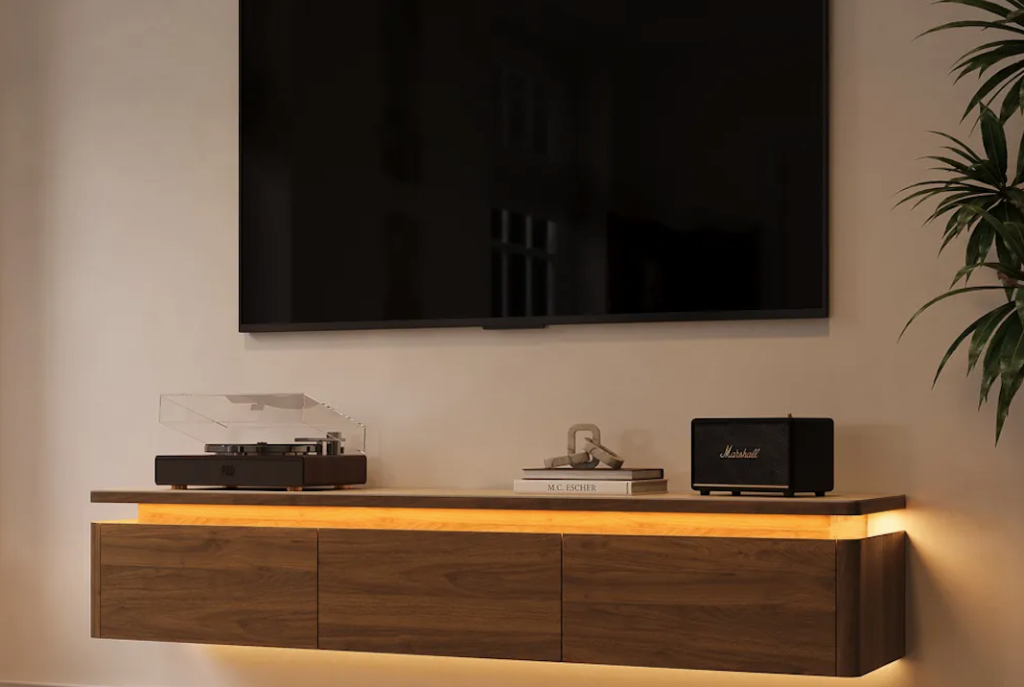
- Lower closed storage — houses the soundbar, game consoles, streaming boxes, and the cable tangle nobody wants to see
- Center TV zone — either a recessed open bay or a flat wall segment with the TV directly mounted
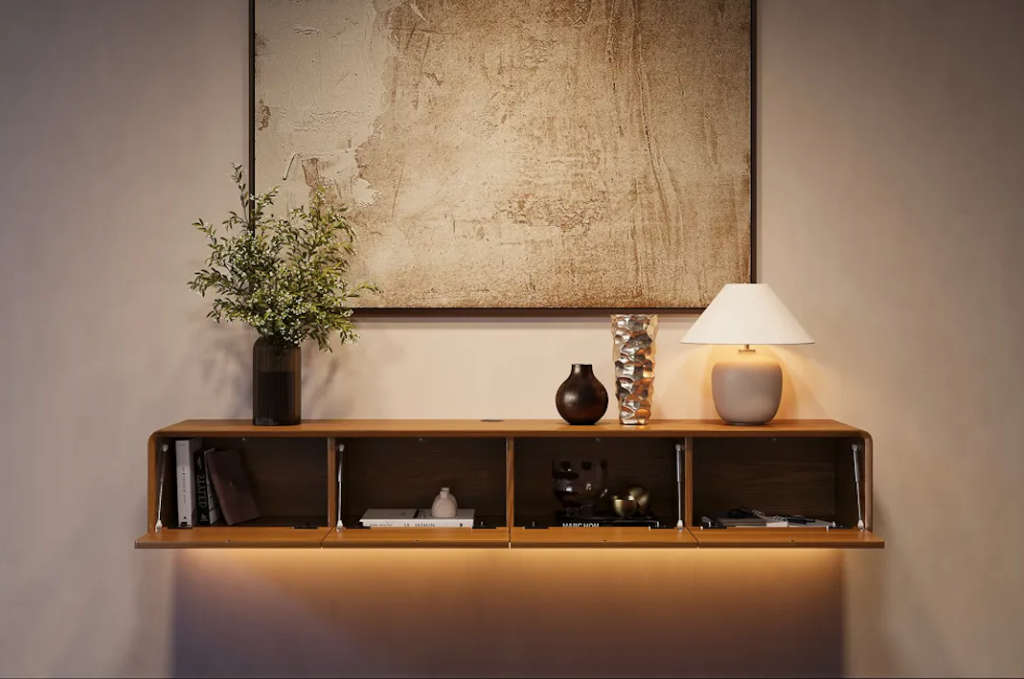
- Upper cabinets or shelving — decor display, books, or additional closed storage depending on ceiling height
- Integrated cable routing — grommets, channels, or rear access points to keep wiring invisible
If your plan only includes one of these pieces, you’re shopping for a floating TV stand, not a media wall.
When a Full Floating Media Wall Makes Sense
I’ll be straight with you: a complete floating entertainment center isn’t the right answer for every living room. It needs the right wall, the right ceiling height, and the right relationship to seating. Here’s how to know if your space qualifies.
Wide Living Room Walls
The minimum workable wall width for a balanced media wall is roughly 10 feet. Below that, the proportions start fighting you — either the side cabinets crowd the TV, or you cut the upper storage and end up back at a single console. The sweet spot is 12–16 feet, which gives the TV breathing room on both sides without leaving awkward dead zones.
Here’s the proportion rule I use, and it saves people from buying a TV that’s wrong for the wall: the TV should occupy 50–66% of the visual width of the cabinet system below it. A 65″ TV (about 57″ wide) wants a lower cabinet run between 86″ and 114″. A 75″ TV (about 66″ wide) wants 99″ to 132″. Anything tighter and the TV looks oversized; anything wider and the TV looks lost.
Before ordering anything, do what I make every client do: blue painter’s tape the entire layout on the wall. The full cabinet outline, the TV rectangle, the upper shelf positions. Live with it for 48 hours. Sit on your sofa at the actual viewing distance. You’ll catch every proportion problem before it costs you $2,000.
Homes That Need Closed and Open Storage
The media wall format earns its keep when you have real storage needs. We’re talking households with:
- Multiple game consoles (PS5, Xbox, Switch all live somewhere)
- A soundbar plus a subwoofer plus rear surround speakers
- A streaming box, router, and modem that the household refuses to consolidate
- Decor, books, or media that needs display surface
- Kids whose remotes, controllers, and chargers need a closed home
If your media setup is a TV and a Roku stick, a single floating console is more than enough. The full media wall is for people with stuff to organize, not just a screen to hang.
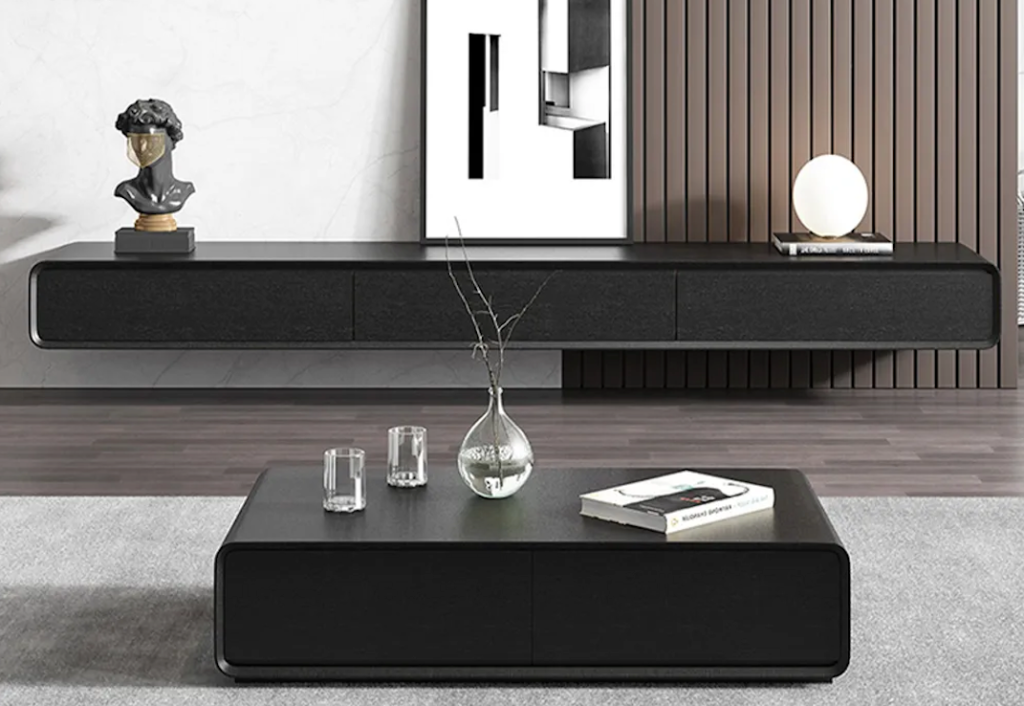
Floating Entertainment Center vs TV Console
People mix these up constantly, and the confusion costs them money. Here’s the actual difference:
| Feature | Floating TV Console | Floating Entertainment Center |
| Format | Single wall-mounted unit | Multi-module wall system (lower + upper + center) |
| Wall width needed | 6–8 ft minimum | 10–16 ft minimum |
| Storage capacity | Soundbar + 2–3 devices | Full media stack + display + decor |
| Installation complexity | 1–2 hours, 2 people | Half day, often pro install recommended |
| Weight load on wall | Typically 80–120 lbs total | Can exceed 250 lbs across multiple stud bays |
| Cost range | $400–$1,200 | $1,500–$4,000+ |
| Best for | Apartments, small condos, secondary rooms | Primary living rooms, dedicated media rooms |
The console is a furniture choice. The entertainment center is closer to a built-in.
Wall Strength, Cable Planning, and Installation Checks
This is the section that should come before the inspiration shopping, not after. The structural reality of your wall determines what’s even possible.
Stud requirements. A floating entertainment center carrying 200–300 lbs total (TV + cabinets + contents) needs to anchor into wall studs. Standard residential framing in U.S. homes uses 2×4 wood studs spaced 16 inches on center. Drywall anchors alone — even the heavy-duty toggle bolts — are not engineered for a load distribution this large. You need a stud finder, a pencil, and patience. Map the entire stud grid before you order anything, because the cabinet layout has to align with the studs that exist, not the ones you wish were there.

Weight load math. Add up everything: cabinet weight (often 80–150 lbs per module for solid wood construction), TV weight (a 75″ TV runs 60–90 lbs without the mount), plus whatever lives inside. Then add a 25–30% safety margin. If the math gets above 300 lbs in any single stud bay, you’re looking at a French cleat system with a backer panel, or you’re calling a pro. According to the CPSC’s AnchorIt campaign data, unsecured furniture and TV tip-overs sent an average of 22,500 Americans to emergency rooms annually between 2018 and 2020 — and 44% of those injuries were children under 18. This isn’t a “probably fine” situation.
Cable planning is the part most people skip. Here’s the rule that surprises everyone: standard appliance power cords are not rated to run inside walls. Building codes require in-wall power runs to use cables specifically rated for the application — typically routed through a recessed in-wall power kit with a code-compliant outlet behind the TV. HDMI, optical audio, and speaker cables also have ratings (CL2 or CL3) for in-wall installation. The shortcut of just stuffing the regular TV power cord behind the drywall is a real fire risk, not just a code violation. If you’re planning a clean wall, plan for a licensed electrician to install a recessed outlet at TV height during installation. Budget $150–$300 for the visit.
The installation reality. This is a two-person job, minimum. Three is better. For a full media wall:
- French cleat or heavy-duty L-bracket mounting (whichever the manufacturer specifies)
- Laser level for cross-module alignment — eyeballing it across 12 feet always reveals a slope you didn’t see
- A full afternoon, not a Saturday morning
- Touch-up paint ready, because something will need it
For installs over 250 lbs total or walls you’re not 100% sure about (metal studs, plaster, masonry), CEDIA maintains a directory of certified custom electronics designers and installers — these are the folks who do media walls professionally and know the code requirements in your jurisdiction. The 1–2 hour install fee costs less than repairing torn drywall and a cracked TV.
What to Confirm Before Ordering Online
Buying a media wall sight-unseen is a higher-stakes order than buying a TV stand. Before you commit, lock these down:
- Fully assembled vs flat-pack. Walk into this with eyes open. A flat-pack media wall means you’re assembling four to six modules on your living room floor before you can even start the wall install. That’s a full weekend of hardware, dust, and patience tested. The reason I keep coming back to POVISON’s TV stand and media collection is that the modules ship pre-built — hinges, drawers, cable channels all factory-installed. You’re hanging cabinets, not building them. For a project this size, that distinction is the difference between a Saturday and a three-weekend slog.
- Module dimensions vs the wall reality. Get exact width, depth, and height for every component. Then re-measure your wall, your ceiling height, and the location of every outlet, vent, and window trim that could interfere. Depth especially matters — a 14″ deep cabinet at standing eye level feels different from a 10″ deep one, and once it’s mounted, you’re not changing your mind.
- Finish family consistency. If you’re combining a lower run with upper shelving from the same brand, confirm they’re from the same collection — not just “similar walnut.” Wood finishes vary batch to batch, and “warm oak” from one product line can read noticeably different from “warm oak” in another. The whole point of the media wall format is visual cohesion. Don’t sacrifice it to save $200.
- Material and finish safety. A media wall sits at face level for everyone in the room — kids on the floor, adults on the sofa. Confirm the finish meets CARB Phase 2 emissions standards (the California regulation that’s effectively the U.S. baseline for formaldehyde in wood products). Solid wood or properly veneered engineered wood is what you want. Particle board with a thin laminate is what you don’t — it sags under load over time, and the finish chips at every edge.
- Delivery and white-glove options. A media wall system arrives in multiple large, heavy boxes. Confirm whether you’re getting curbside drop-off (boxes on your driveway) or in-home delivery (boxes carried inside, placed in the room of use). For 250+ lbs of furniture, in-home delivery is worth the upgrade — and confirm the damage policy in writing before you order. POVISON’s living room collection includes coverage details I’d want everyone shopping this category to read.
- Fireplace integrations — read carefully. Some floating media walls market integrated electric fireplaces. These can be excellent, but the safety requirements are real: clearance to combustibles above the unit, ventilation specifications, and amperage requirements on the circuit. Most residential 15A circuits can handle one electric fireplace insert, but check the manufacturer spec sheet against your circuit before you assume. If the spec sheet is vague, that’s your answer — pass.
FAQ
Is a floating entertainment center worth it for a full media wall?
A floating entertainment center is worth it for a full media wall when you have at least 10 feet of continuous wall width, real storage needs (multiple devices, speakers, decor), and the ability to anchor into wall studs. The format delivers a built-in look at roughly half the cost of custom millwork — typically $1,500–$4,000 versus $8,000+ for a comparable carpenter-built install. If your space, structure, and storage needs check out, the value math works.
What is the difference between a floating entertainment center and a TV console?
A floating entertainment center is a multi-module wall system (lower storage + center TV zone + upper cabinets or shelving) designed to occupy 10–16 feet of wall. A TV console is a single wall-mounted unit, usually 6–8 feet wide, holding the TV and basic media equipment. The entertainment center is closer to built-in cabinetry; the console is a piece of furniture. Different scale, different installation complexity, different price tier.
Do floating entertainment centers need wall studs?
Floating entertainment centers absolutely need wall studs for safe installation. A typical media wall system carries 200–300 lbs of combined load (cabinets, TV, contents), which exceeds the capacity of drywall anchors regardless of weight rating. Standard U.S. residential framing uses 2×4 studs at 16″ on center — map the stud grid before ordering and confirm the cabinet layout aligns with available stud locations. For masonry or metal-stud walls, professional installation with appropriate anchors is required.
Can a floating entertainment center work with a large TV and closed storage?
A floating entertainment center works well with large TVs (65″–85″) and significant closed storage when proportions are planned correctly. The TV should occupy 50–66% of the cabinet system’s visual width, and the lower closed storage typically measures 86″–132″ wide depending on TV size. Confirm total system weight against stud capacity, plan recessed in-wall power for cable management, and budget for professional installation if total load exceeds 250 lbs.
Conclusion
A floating entertainment center is the right answer for a specific situation: wide wall, real storage needs, willingness to invest in proper installation. When those conditions line up, it transforms a living room from “TV on a stand” into a complete designed space — the kind that makes guests pause when they walk in.
The mistakes I see people make are almost always front-loaded. Buying before measuring. Skipping the painter’s tape mockup. Underestimating wall load. Treating cable planning as an afterthought. Mixing finishes from different collections and wondering why the wall reads as busy. Every one of these is preventable with a single planning afternoon before you order.
If you’re building a media wall this year, take the time to tape it out, map your studs, plan your cables, and confirm your modules ship pre-assembled. The system you install in 2026 is the one your living room lives with for the next decade — it’s worth getting right the first time. When you’re ready to compare specific modules, POVISON’s TV stands and media collection is where I’d start, and the full living room collection helps if you’re coordinating the rest of the room while you’re at it.
Measure twice. Order once. Drill where the studs are.
Related Reading: