A dedicated spot for your daily routine can turn rushed mornings into a calm ritual. Building your own makeup vanity lets you tailor the size, storage, and style to your space, whether you want a compact corner station or a full glam room setup. In this guide, we’ll walk through how to build a makeup vanity from planning and materials to lighting and styling, with tips for both large makeup vanities and a small makeup vanity in a tight bedroom.
Why Build Your Own Makeup Vanity?
A custom vanity gives you control over height, layout, and storage so your brushes, skincare, and palettes all have a home. Beauty routines add up: American women spend an average of 45 minutes a day on grooming and account for around 80–90% of the $115 billion beauty-product market (Harvard Kennedy School, 2019). With that much time and money invested, having a comfortable, well-designed makeup vanity really matters.
DIY also lets you control cost. Home improvement projects are booming; spending on DIY projects grew 44% between 2019 and 2021, reaching $66 billion, according to data shared by Bazaarvoice from Harvard’s Joint Center for Housing Studies. Instead of buying the most expensive makeup vanities for sale, you can invest in better materials where it counts—like a sturdy top and smooth drawers.
Plan Your Space and Style
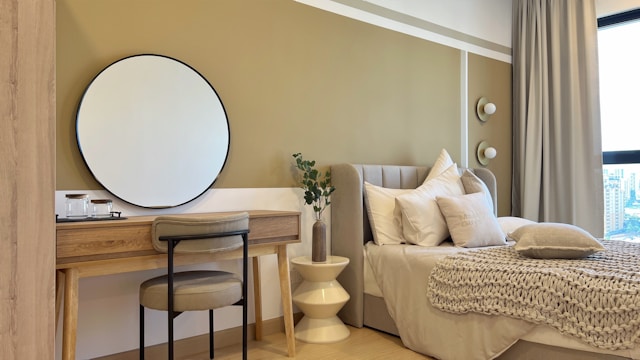
Start by choosing where your vanity will live. For bedroom makeup vanities, place the desk near natural light but not blocking closet doors or walkways. Aim for at least 30–36 inches (76–91 cm) of width for a comfortable seat and some storage. If you’re working with a tiny room, a corner or the space under a window can become a perfect small makeup vanity.
Next, decide on the look. Do you love warm wood makeup vanities, glam mirrors with bulbs, or sleek contemporary makeup vanities with clean lines? When I built my first vanity, I sketched a few options on scrap paper and taped them to the wall to picture where shelves, mirror, and lights would sit—it made it much easier to commit to a design before buying anything.
Tools and Materials You’ll Need
Your exact list depends on whether you’re building from raw boards or modifying flat-pack furniture, but most DIY vanities use similar basics:
- Tape measure, pencil, drill/driver, wood screws, sandpaper, brackets, a pre-cut tabletop or board, legs or cabinets, mirror, lighting (LED strip or Hollywood bulbs), paint or stain, and cable clips or cord covers.
If you’re new to woodworking, consider using ready-made drawer units or small cabinets as the base and adding a custom top. This gives you the solid feel of large makeup vanities without complex joinery. For renters, look for peel-and-stick LED lights and clamp-on mirrors that won’t damage the walls.
Step-by-Step: How to Build a Makeup Vanity
Step 1: Measure and Sketch Your Makeup Desk Vanity
Measure your available wall space and note outlets, windows, and radiators. Standard vanity height is about 28–30 inches (71–76 cm), similar to a desk, so most chairs will fit. Sketch a simple front view and top view showing the tabletop, legs or storage units, and mirror.
Think through how you use vanities for makeup. Do you reach for skincare first? Do you need standing space for brushes? Label zones for “daily essentials,” “backup products,” and “hair tools” on your drawing. This small step prevents clutter later and keeps even compact makeup desk vanities efficient.
Step 2: Build the Base and Desktop
For an easy structure, use two drawer units or cabinets as side supports and lay a sturdy board across them as the top. Secure from the inside with L-brackets and wood screws so the vanity feels solid. If you’re using screw-in metal legs instead, pre-drill holes and check that everything sits level before tightening.
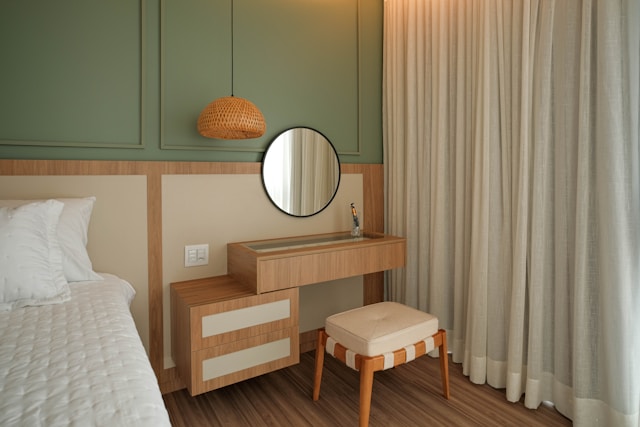
Choose a tabletop material that fits your style and budget. Solid wood suits cozy, timeless wood makeup vanities, while high-pressure laminate resists spills and stains from skincare and foundation. In my own setup, I added a narrow overhang at the front so my knees and chair could tuck in without hitting drawers—small comfort upgrades like that you definitely feel every day.
Step 3: Add Drawers and Storage for Makeup
Once the base is stable, install drawers or organizers. Ready-made drawer units with soft-close hardware feel luxurious and save build time. Inside, use shallow trays so lipsticks and liners don’t roll around; deeper bins at the back can store backup products or hair tools.
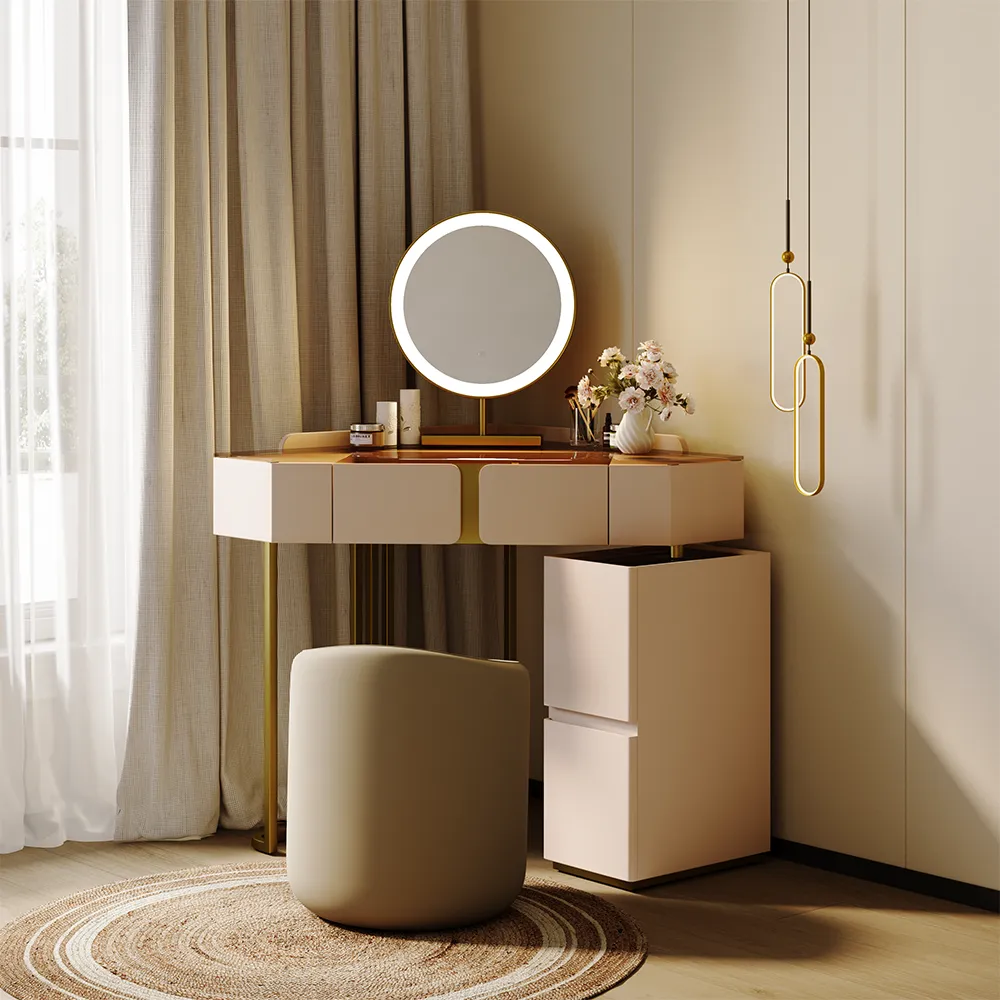
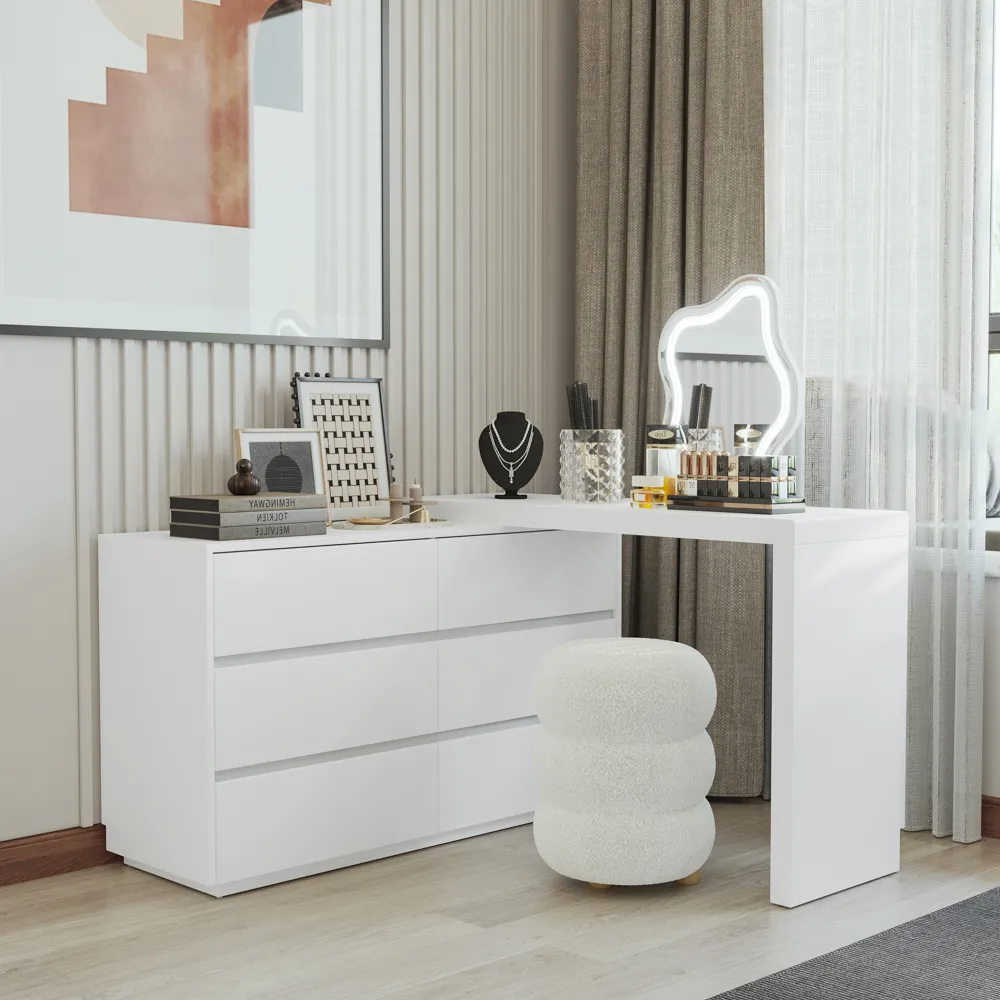
Open shelving can work well for large makeup vanities or shared setups. Keep everyday items at eye level and heavier tools lower for safety. For a small makeup vanity, consider a mix of one shallow drawer and vertical organizers, like acrylic trays or rotating caddies, to keep the desktop clear while still visible.
Step 4: Install Mirror and Lighting
A mirror and good lighting are what truly turn a desk into a vanity. Center a framed mirror on the wall above the tabletop, leaving space for sconces or bulb strips on the sides. Aim to place the middle of the mirror around eye level when seated.Lighting should be bright but soft. Choose 4000–5000K “daylight” LEDs for accurate color and reduce harsh shadows by placing lights on both sides of your face.
Step 5: Finish, Style, and Protect
Sand any rough edges, then paint or stain the vanity. Light neutrals make a small room feel open, while darker tones suit moody, contemporary makeup vanities. Add a protective clear coat so skincare spills or hot tools don’t damage the surface.
Finally, style your station. A small tray for perfumes, a pretty brush holder, and a vase or candle can make your vanity feel like a mini boutique. Use drawer labels or dividers so you always know where things belong. Over time, this is what keeps your DIY vanity feeling like a curated piece, not just another cluttered table.
Smart Ideas for a Small Makeup Vanity
If space is tight, think vertical. Wall-mounted shelves above the vanity can hold baskets for extra products, while a slim pegboard can store tools and jewelry. Foldable stools or ottomans with hidden storage double as seating and extra space for seasonal items.
One simple trick is to repurpose narrow makeup desk vanities or consoles. I once helped a friend convert a tiny hallway console into a vanity by adding a round mirror, a pull-out organizer, and a plug-in lighted strip; the unit was barely 32 inches wide but looked like it belonged in a boutique hotel. In very compact rooms, choose floating vanities anchored to studs so you keep floor space clear.
Conclusion
Whether you’re updating a spare corner or designing a full glam station, building your own makeup vanity is a rewarding project. You get to decide how much storage you need, how the light hits your face, and how the whole piece fits into your bedroom. With thoughtful planning, basic tools, and the step-by-step process above, you can create Makeup Vanities that feel tailored to you—every time you sit down, you’ll feel a little more ready for the day (or night) ahead.
FAQ
How long does it take to build a makeup vanity?
For a simple design using ready-made drawer units and a pre-cut top, many people finish over a weekend, including painting and drying time. More complex builds with custom drawers or wiring may take several evenings across one to two weeks.
What is the best height for makeup vanities?
Most vanities match desk height, around 28–30 inches (71–76 cm), which works with standard chairs. If you prefer a taller stool, you can raise the height a little, but always test by sitting on your chosen seat before fixing anything permanently.
Do I need special lighting for a vanity?
You don’t need expensive studio lights, but you do need even, bright light. Daylight-balanced LED bulbs (around 4000–5000K) placed on both sides of the mirror reduce shadows and help makeup colors look true. Avoid single overhead lights, which can create harsh lines under your eyes.
Can I turn a regular desk into a vanity?
Yes. Add a mirror above the desk, upgrade the chair for comfort, and bring in organizers for makeup and skincare. Clip-on or stick-on LED lights can transform an ordinary desk into a functional vanity without drilling or major changes.
How do I keep my makeup vanity organized?
Group items by how often you use them. Keep daily essentials in the top drawer or a small tray on the surface, and move rarely used items to deeper drawers or bins. Regularly declutter expired products so your vanities makeup area stays clean and easy to use.
I hadn’t thought about how much time we spend on our beauty routines until reading this! A comfortable and organized vanity really does make a difference in how you start your day.